
If you've ever scrolled past a recipe that called for brown butter and thought, I'll just use regular melted butter, it'll be fine, you're missing out. For years, I was convinced that browning butter was complicated and I didn't get the hype. Then I tried it in a baking class, and I've never looked back! Making browned butter is truly one of the simplest, high impact swaps you can make in baking. It's the secret ingredient behind many of my easy cookie recipes.
You can make browned butter ahead of time and keep it in the fridge for up to two weeks, ready whenever a recipe calls for it. Below, I'll walk you through exactly how to brown butter, the sights and sounds that take all the guesswork out, and the easiest method I've taught dozens of home bakers, including the ones who, like me, have burned a few batches.
Quick Look: How to Make Brown Butter
- Ready In: 10 minutes
- Makes: about ¾ cup
- Calories: about 136 kcal per tablespoon/serving
- Add to Your Shopping List: unsalted butter and a pan with a light colored bottom
- Dietary Info: deliciousness levels are off the charts! Proceed accordingly.
- Baker's Note: Use a light-colored skillet or saucepan so that you can see when the color shifts.
Summarize and Save This Content
Jump to:
What is Brown Butter
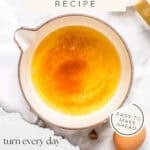
It's regular butter that has been melted and gently cooked. The milk solids toast and turn golden brown, giving the butter a rich, nutty, almost caramel like flavor. The French call it beurre noisette which means "hazelnut butter" because of its nutty smell as it cooks.
What's actually happening in the pan
When you melt the butter and keep cooking it, three different things happen. First, the water cooks off as steam, then the milk solids separate from the fat and settle to the bottom of the pan. The butterfat floats to the top, the milk solids caramelize, and that's where the flavor lives.
It smells like toasted nuts and warm caramel with a flavor that's nuttier and more complex than regular melted butter. It's the kind of ingredient that makes people stop mid-bite and ask who made the cookies.
Why Browning Your Butter is Worth the Extra 5 Minutes
I'll be honest, when I first started baking, if I saw a recipe with an extra step like "brown the butter" or "chill the cookie dough", I would think, do I really have to? The extra five minutes at the stove will transform an ordinary bake into something that tastes like it came from a bakery. And once you taste the difference, it's really hard to go back.
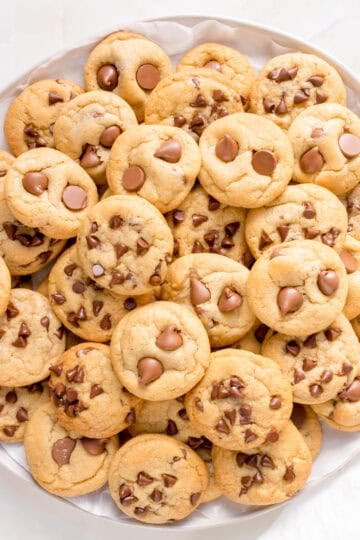
It adds depth, warmth, and a caramel-nutty flavor that regular butter just can't deliver. It's especially magical in recipes where butter is the star ingredient - like chocolate chip cookies, blondies, frostings, and anything with brown sugar where the caramel flavors can work together to make something extra special.
Use it for:
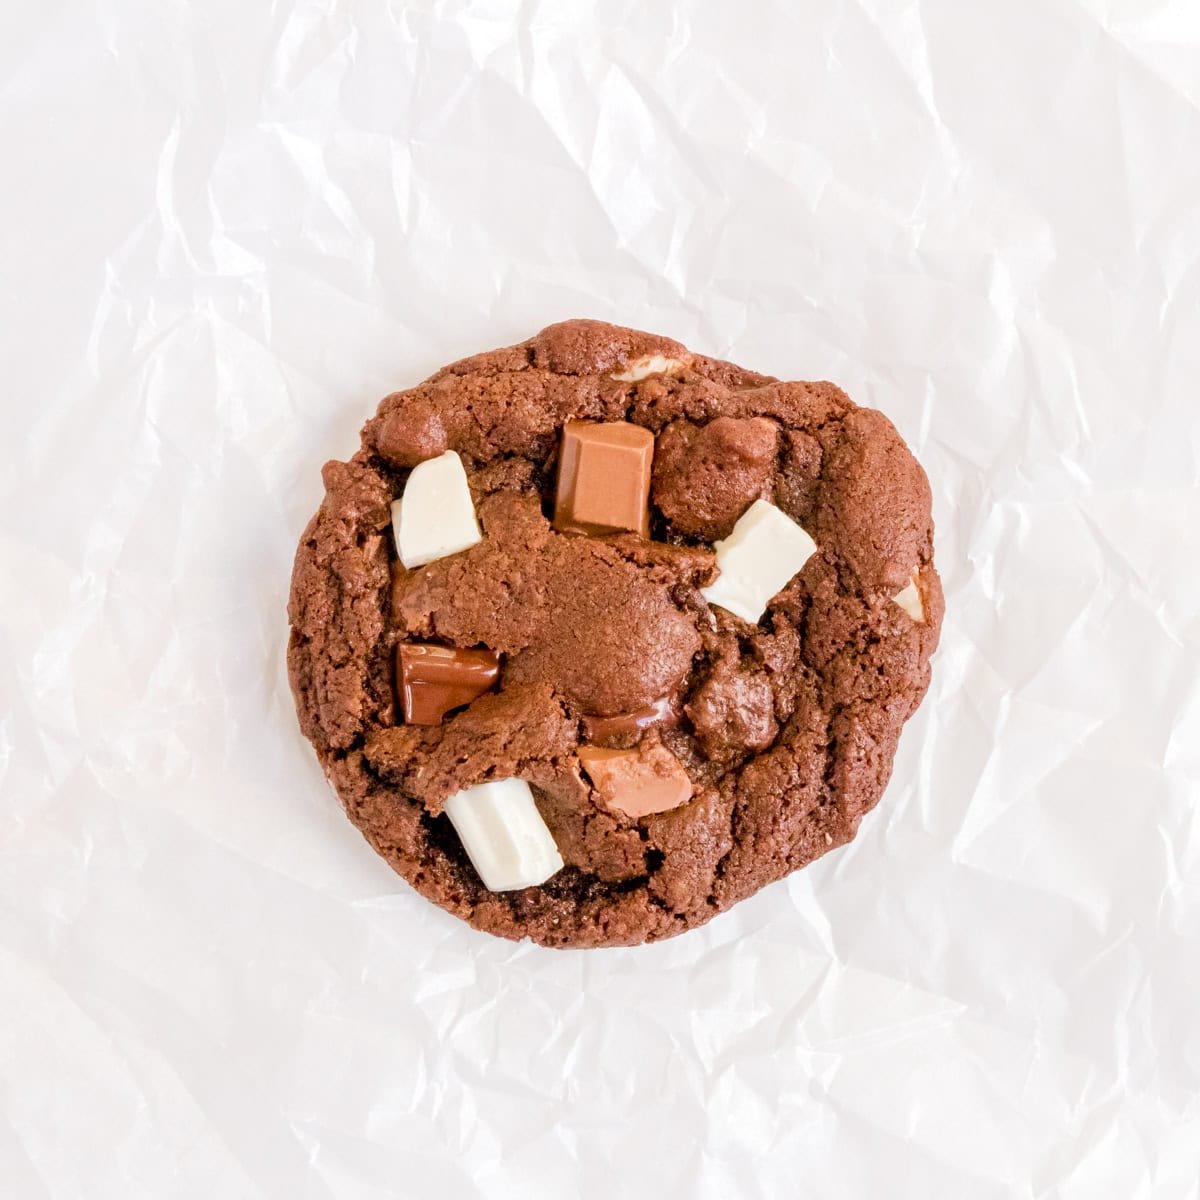
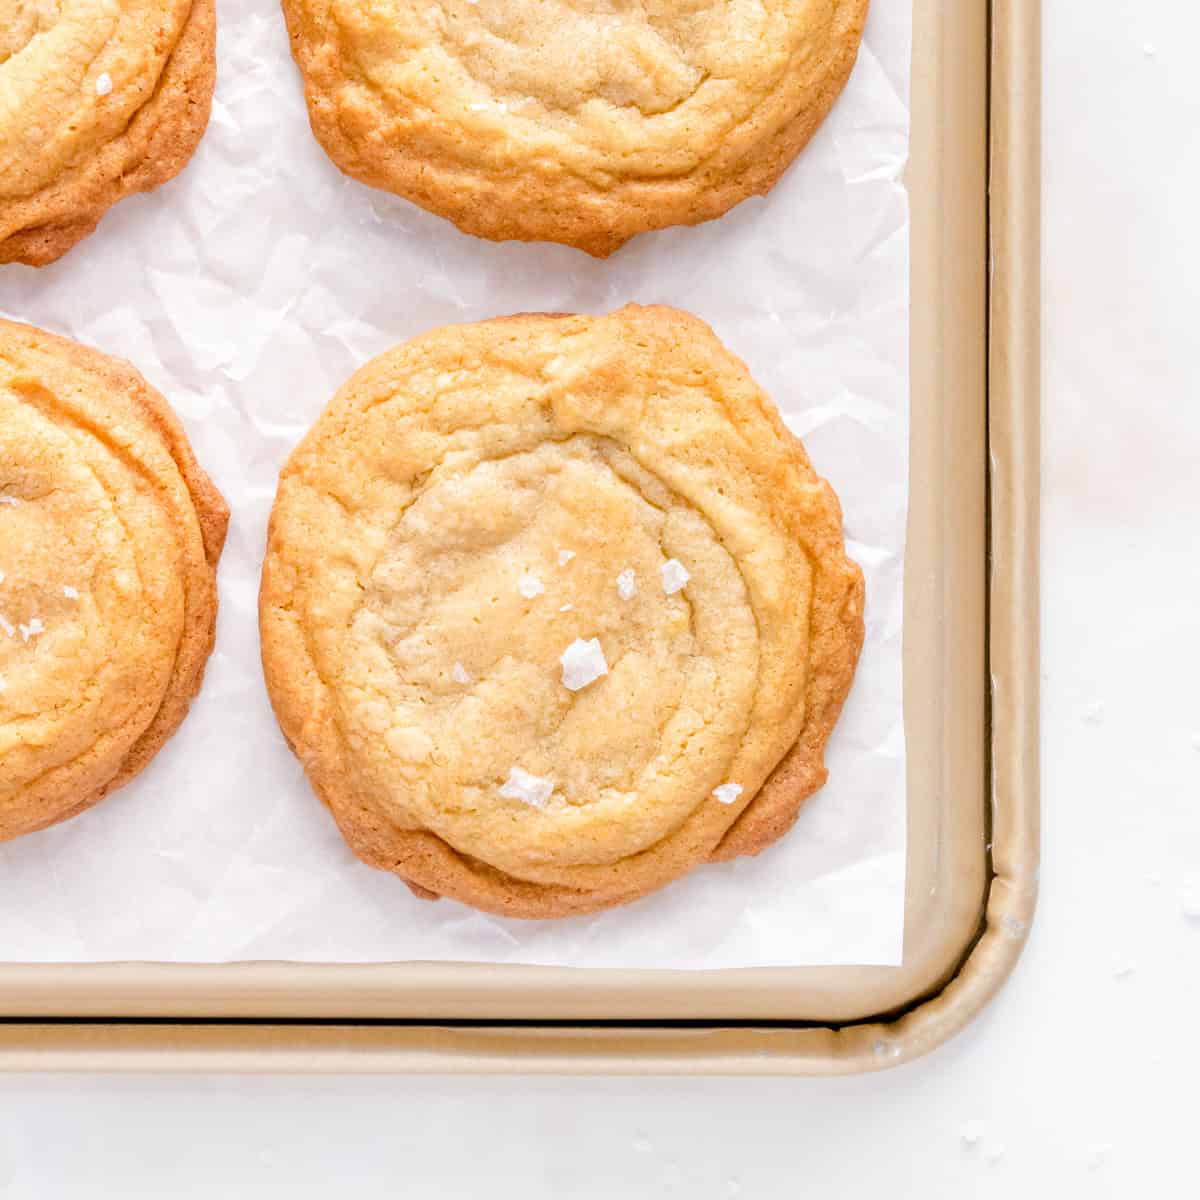
- Cookies - chocolate chip, snickerdoodles and even our triple chocolate cookies are all leveled up by making them with browned butter.
- Blondies and brownies - the nutty butter pairs beautifully with any chocolate or butterscotch - start with our milk chocolate blondies.
- Frostings and glazes - a brown butter frosting on a cake or quick bread is a total game changer, like in this spice cake recipe from Broken Oven Baking.
- Pancakes and waffles - use it in place of the melted butter in your homemade pancakes and waffles.
- Savory bakes - use it in your biscuits, cornbread, and savory scones to add that extra flavor and depth.
Use the same amount of brown butter as a 1:1 replacement for the butter in any recipe.
Ingredients and Equipment
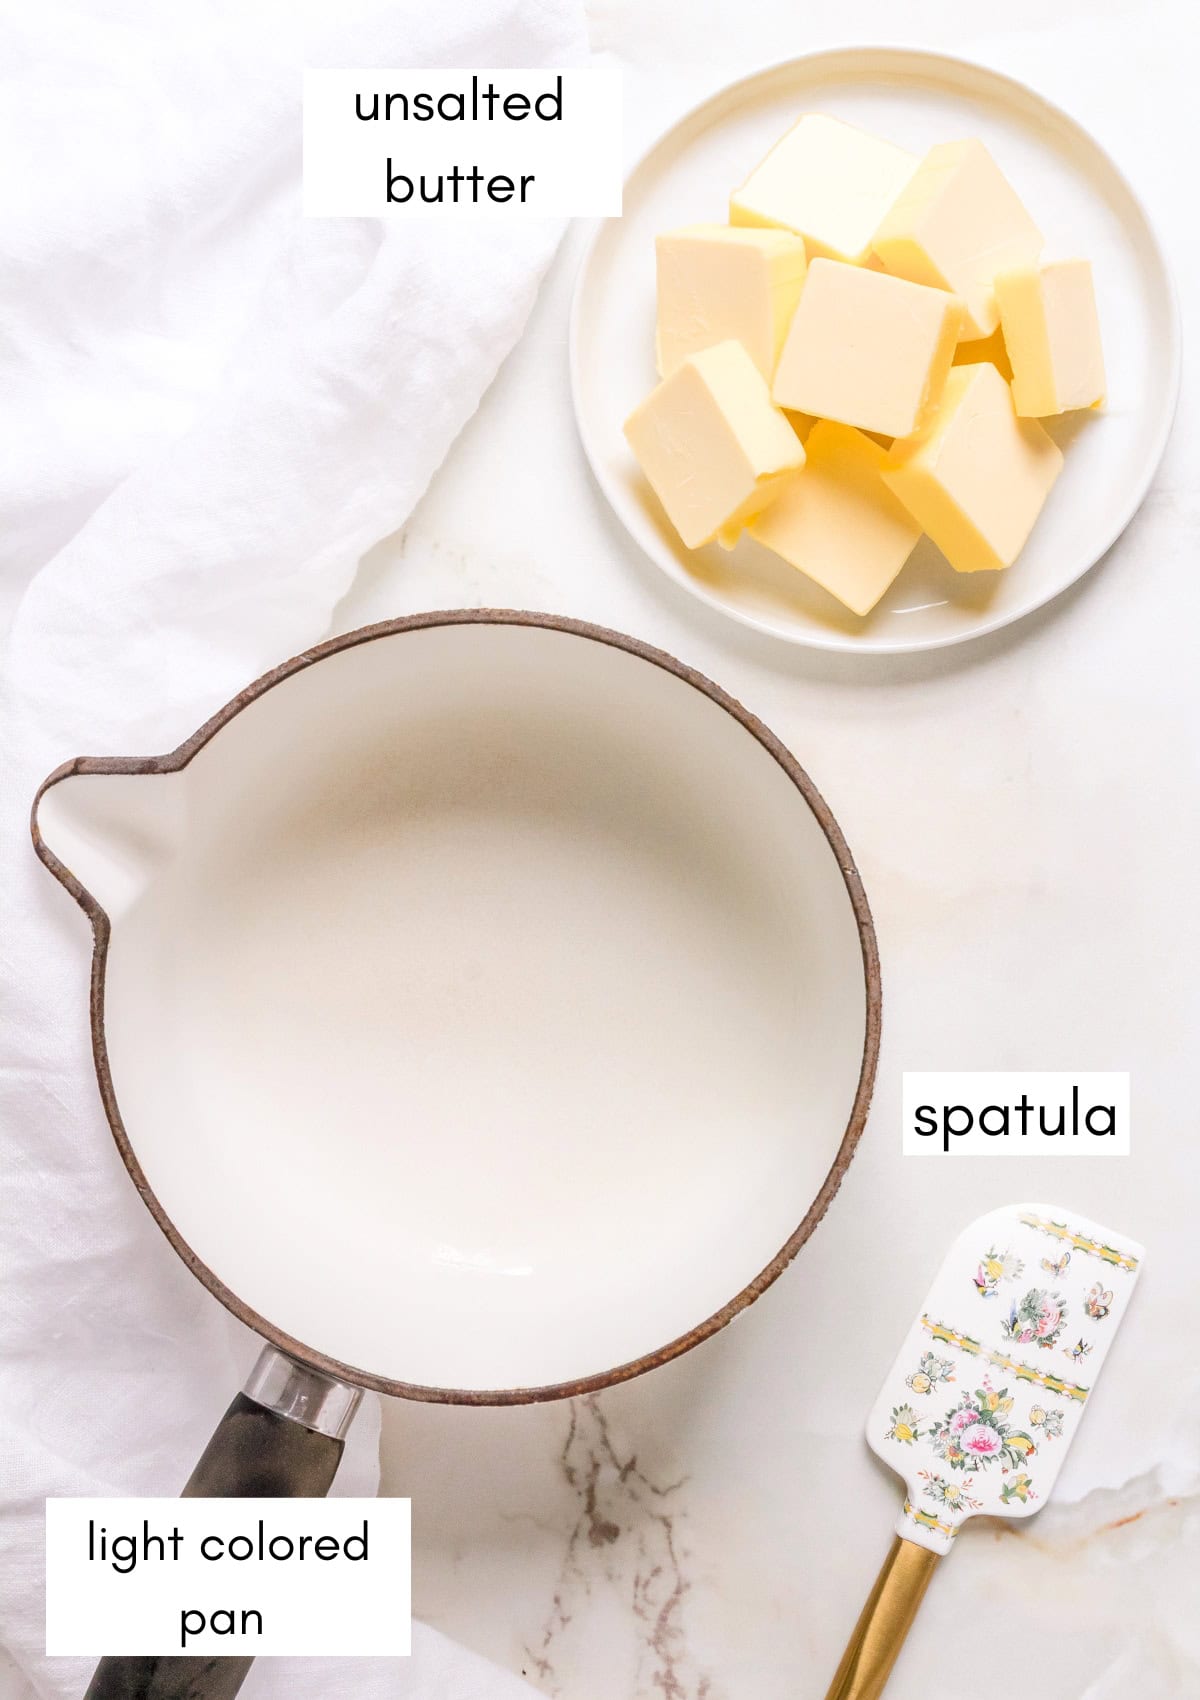
Unsalted butter - I always use unsalted butter. It gives you full control over the amount of salt in your final recipe. One stick (½ cup) makes 6-7 tablespoons of finished brown butter. Some of the volume is lost as the water evaporates.
A light colored pan - Choose a stainless steel or light colored pan. You want to be able to see the milk solids change color at the bottom of the pan, which is nearly impossible in a dark bottomed pan. Any pan with a light colored bottom works. I have used a small white saucepan and many different sized skillets.
A silicone spatula - For mixing the butter as it cooks and scraping the specks of brown milk solids from the pan. The flavor lives in the small, brown bits so you want to get them all.
A heat-safe bowl or container - As soon as the browned butter is done, you'll pour it out of the hot pan and into a glass bowl or storage container. If you leave the butter in the pan it will continue browning and it will burn. A glass measuring cup, Mason jar or ceramic bowl are all great choices.
Step-By-Step Instructions
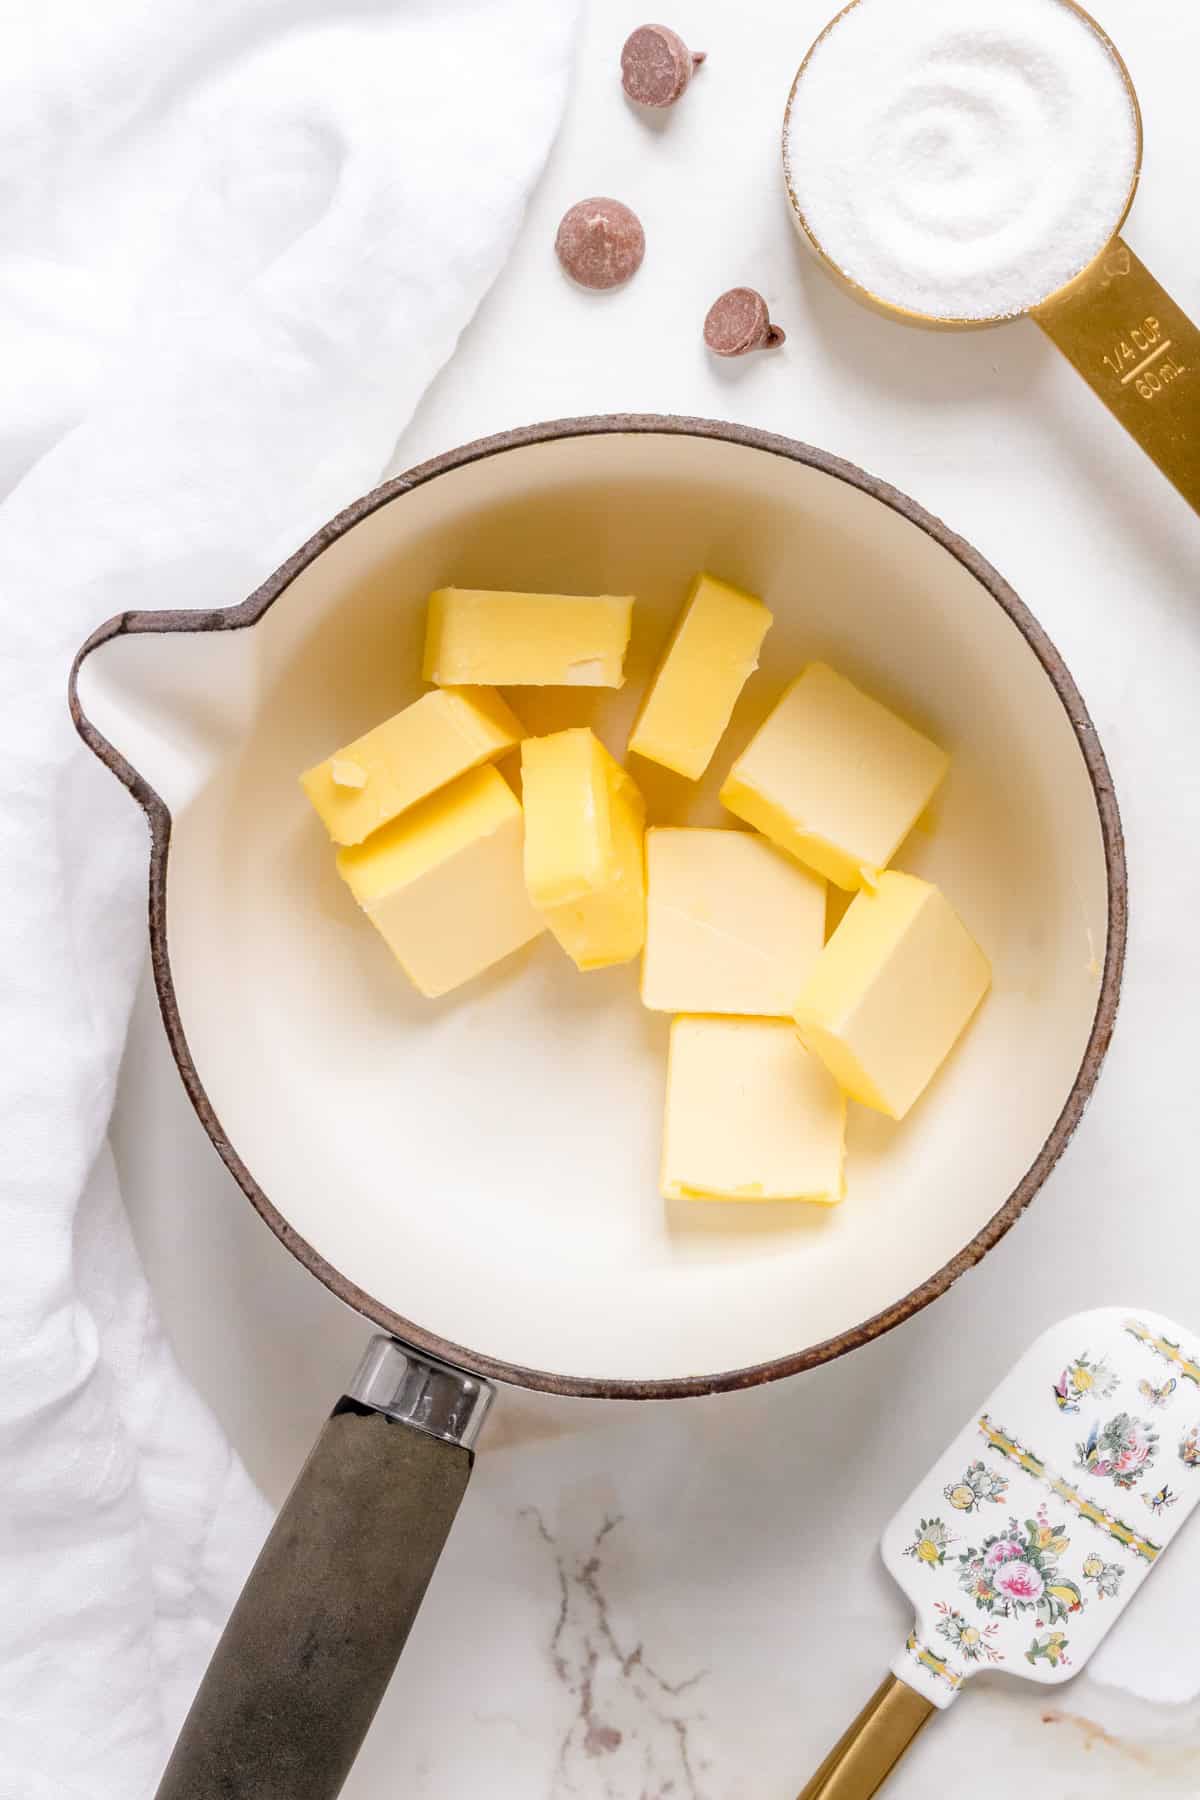
- Cut and melt. Cut the butter into tablespoon pieces and add to a light-colored pan over medium heat.
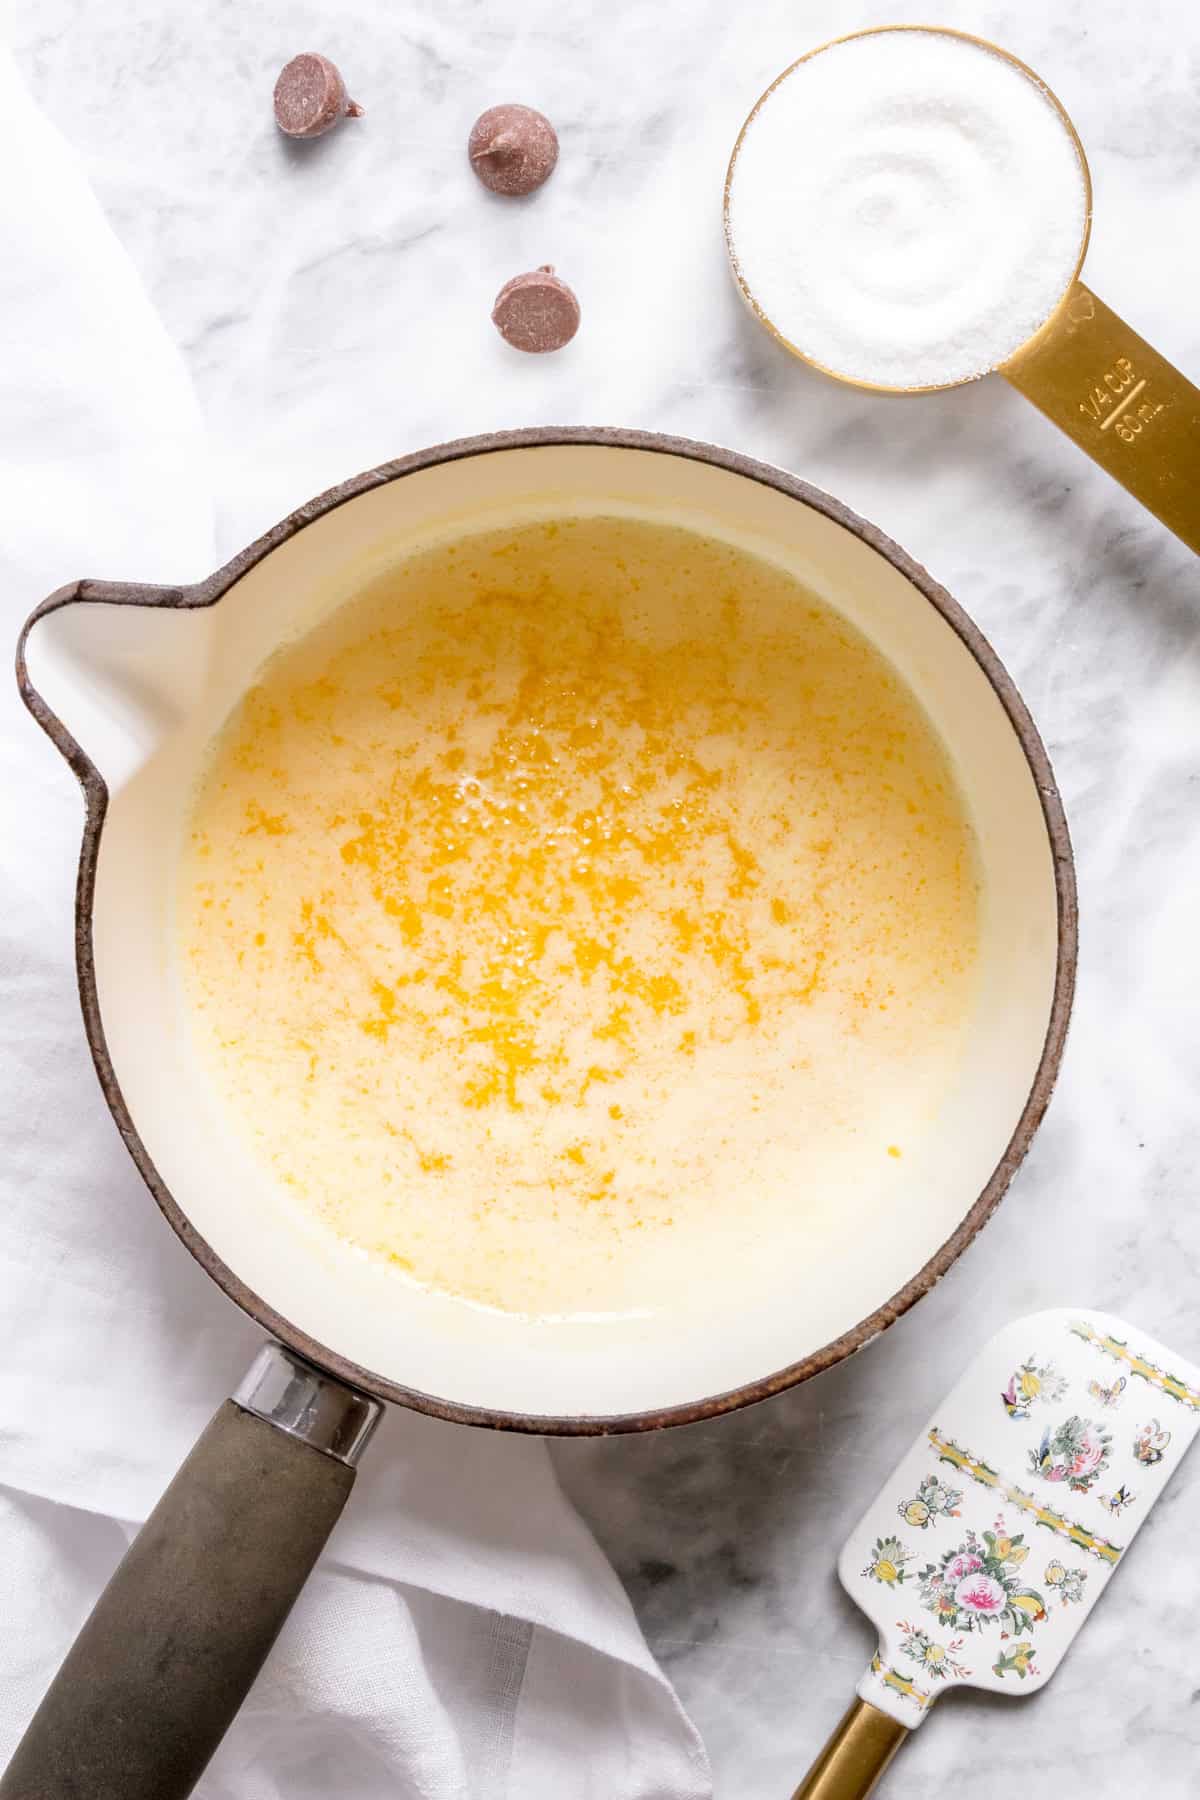
- Watch it foam. Once melted, the butter will foam and bubble as the water cooks off. Mix every 30 seconds.
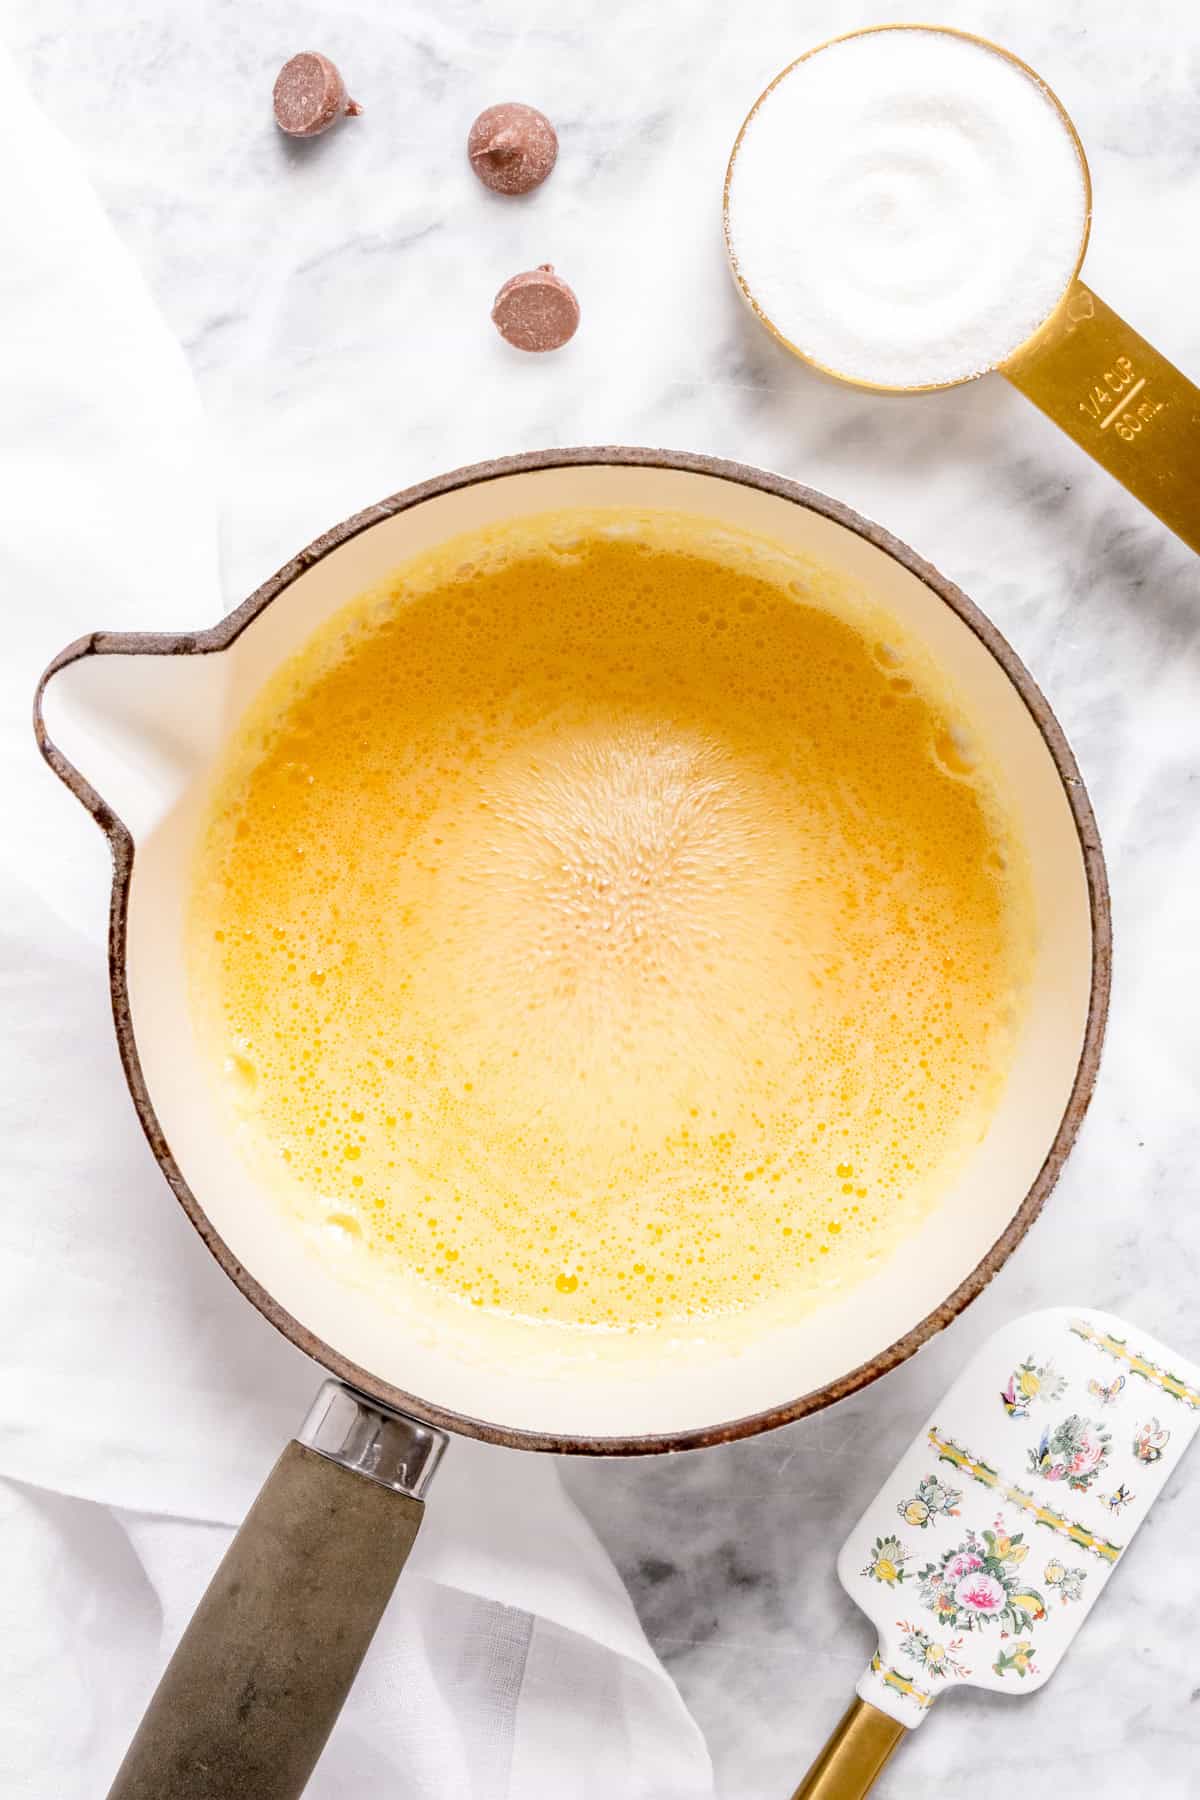
- Listen and look. The foam will settle down, the bubbles will quiet and the milk solids will sink and start to toast.
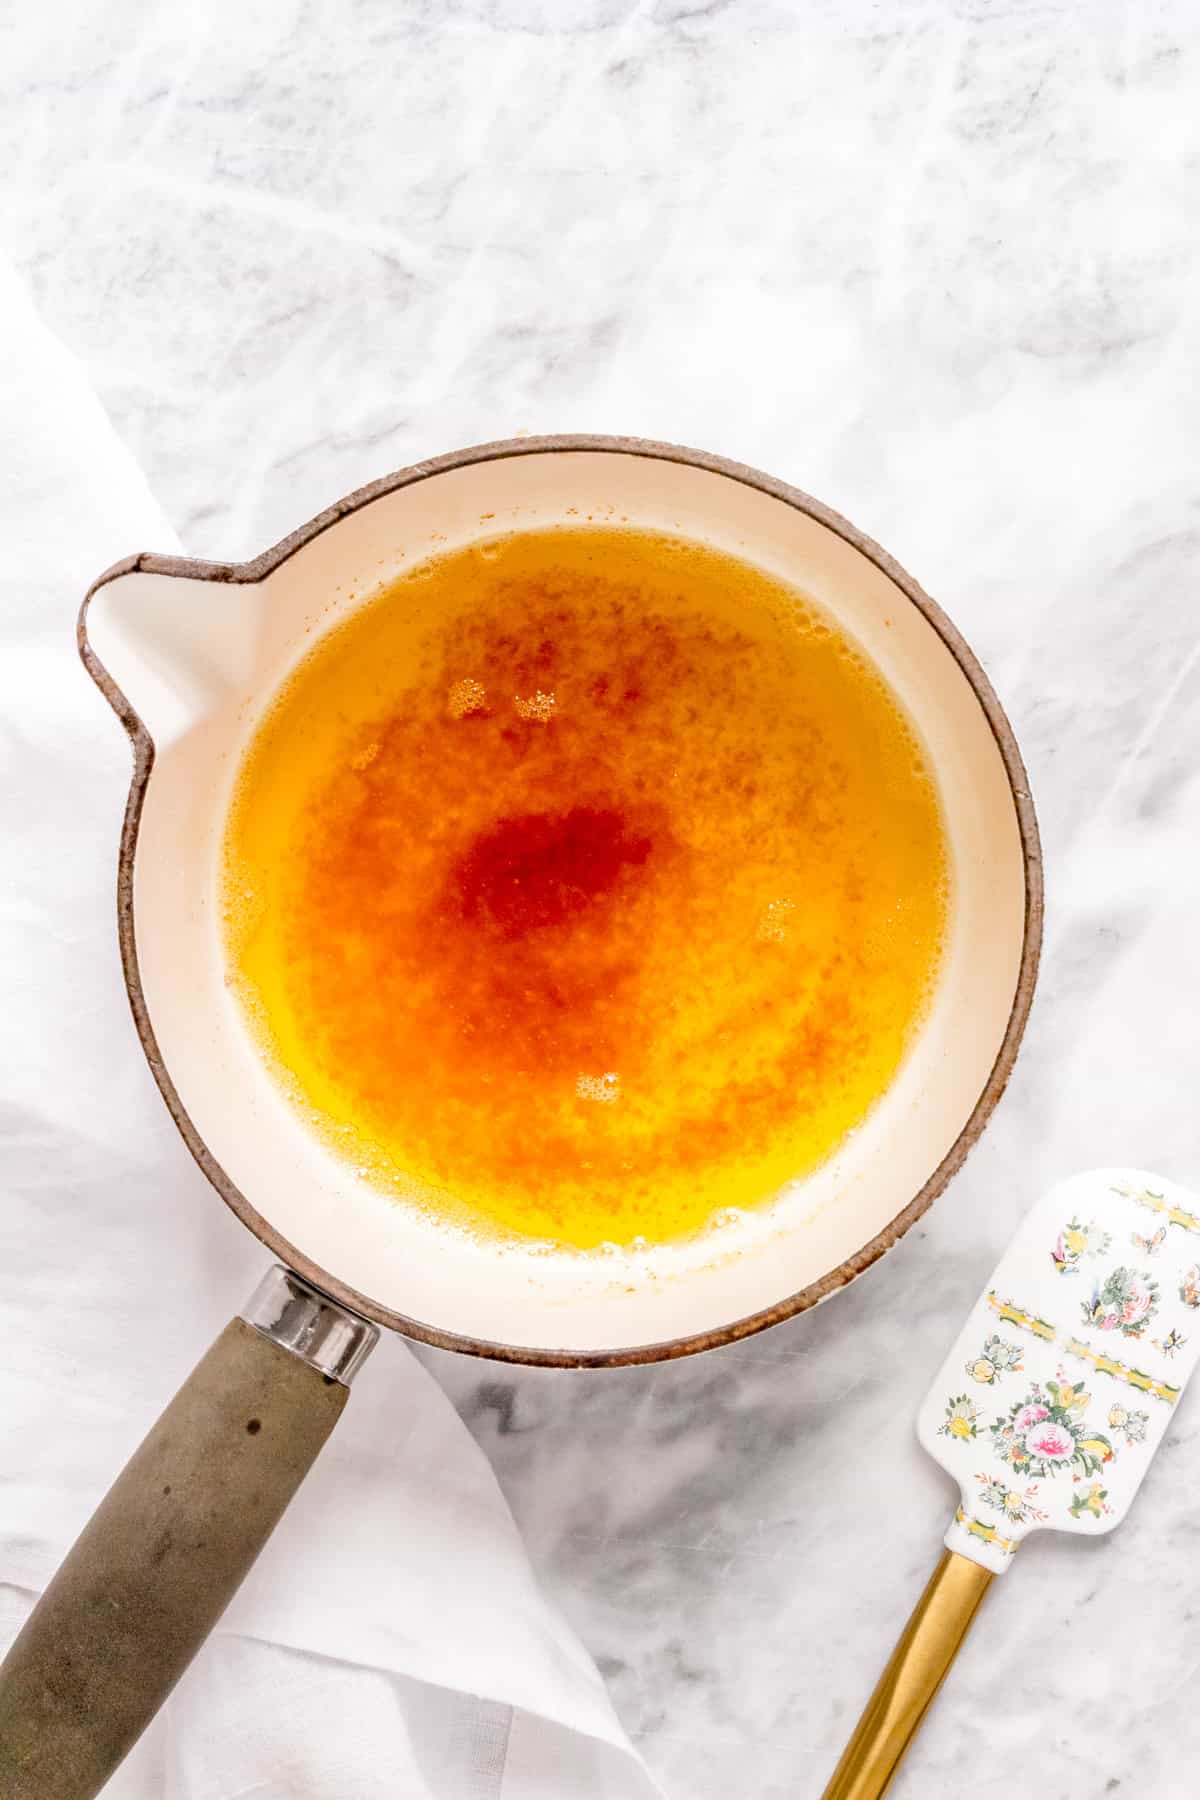
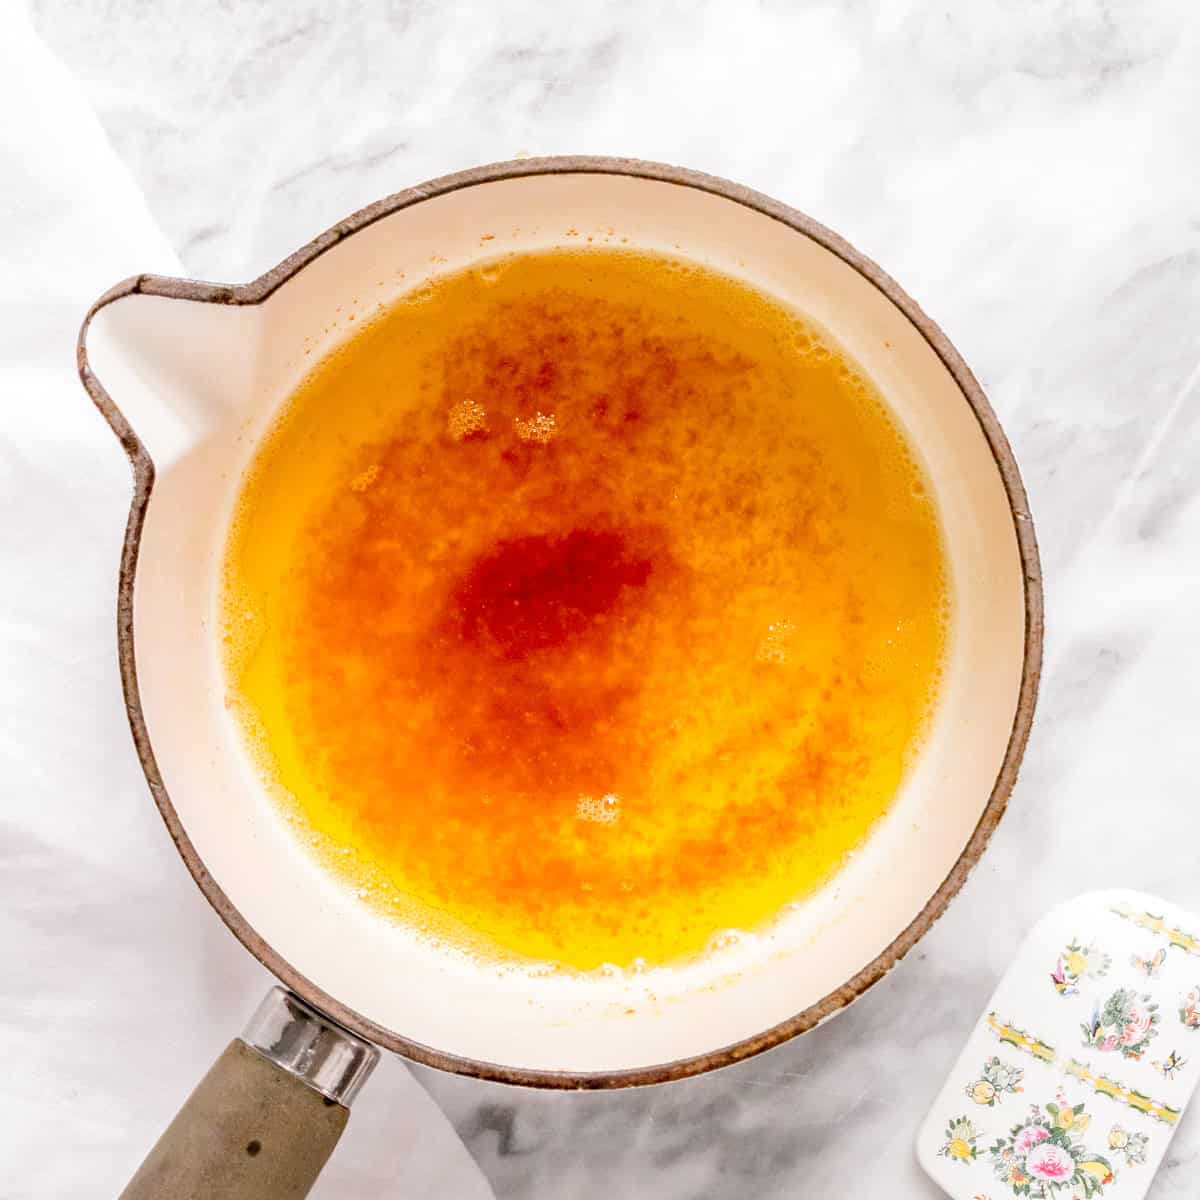
- Look for golden brown. When the butter is a deep amber color with golden-brown specks throughout, immediately pour into a heatproof bowl.
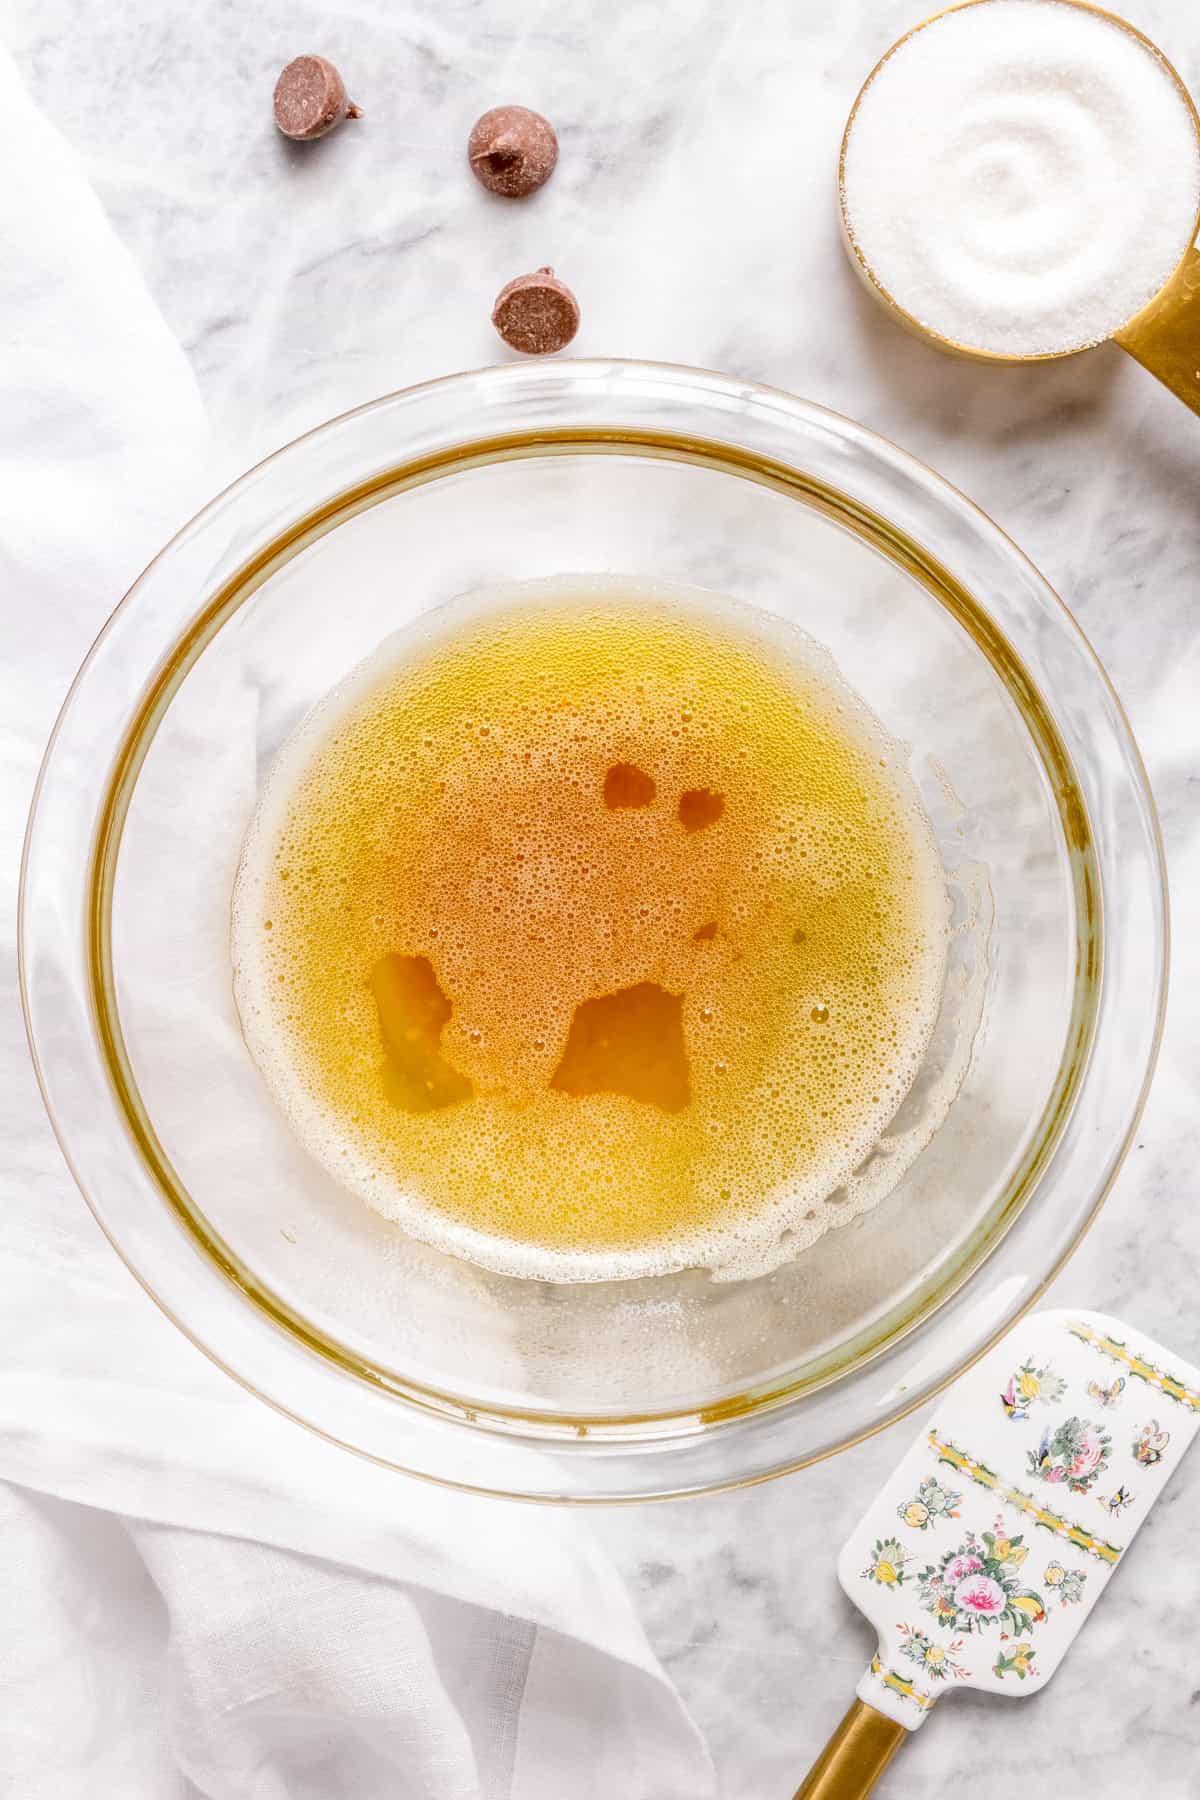
- Transfer to a bowl. Be sure to get every toasted speck out. Allow the butter to cool for 15-20 minutes and then proceed with your recipe.
Notes From My Test Kitchen
The first time that I made this recipe, I undercooked it. The milk solids had separated and settled to the bottom of the pan, but they didn't all turn golden brown. The butter still worked in the recipe, but I didn't get enough of the caramel, nutty flavor. I've also burned a batch or two by leaving it on the heat too long. This is one of those kitchen skills that takes only 5 minutes but you can't walk away and you have to know what you are looking and smelling for.
I don't always make brown butter ahead of time but I should! Go ahead and make more than you need and store it in a Mason jar in the refrigerator. It keeps for up to 2 weeks and you can easily add it to your next batch of cookies, blondies, Rice Krispie treats or pancakes.
If you want to go all out, reach for a European-style butter (Plugrà, Vermont Creamery, Kerrygold, or Président), they all brown beautifully. It'll happen a bit more quickly with a European-style butter and the flavor will be even nuttier and richer thanks to the higher butterfat content. I always reach for it when butter is the star of the recipe like in a frosting or a soft batch of chocolate chip cookies.
One last tip that I learned the hard way. If you are using this recipe in a recipe that calls for creamed butter, let it cool until it's almost solidified but still soft enough for mixing. Adding warm butter directly to the sugar will melt it and completely change the texture of your cookies.
Storage
Pour browned butter directly from the pan into a glass storage container or Mason jar. Allow it to cool and then cover and store. Be sure to get every brown speck out of the pan - that's where the flavor lives.
In the refrigerator: Keep for up to 2 weeks in an airtight container. It will solidify as it chills, you can soften it at room temperature or warm it gently in a small pan or in the microwave.
In the freezer: This recipe freezes beautifully for up to 3 months. I like to store mine in ¼ or ½ cup amounts in small containers. This makes it easy to grab exactly what I need for a recipe. You can also pour the brown butter into an ice cube tray. Once frozen, move the cubes of frozen butter to a freezer-safe bag or container. Each cube is roughly 2 tablespoons of butter.
To use: Gently warm the butter in a small saucepan or the microwave. If you microwave, warm for 15 seconds at a time and check. You can also let it sit on the counter for 30-60 minutes and it will be soft enough for creaming.
FAQs
One stick of butter takes about 5 to 8 minutes total. 2 to 3 minutes to melt, 2 to 3 minutes to start bubbling and foaming, and a final 1 to 2 minutes to brown. Two sticks can stretch closer to 10 minutes. Watch for the foam to begin to disappear, the sizzle to quiet down and for amber specks to form at the bottom of the pan - these are your clues that the butter has browned.
Yes! But I do recommend unsalted if you have it. This gives you better control over the salt content in your finished recipe. If you only have salted butter, reduce the salt called for in your recipe by ¼ teaspoon per stick of butter to make up for the butter in the salt.
It will have a deep amber color with toasted brown specks scattered throughout. As the butter begins to brown, the foamy surface will disappear and the bubbles will get smaller and quieter. If it still looks yellow with active bubbles, it needs more time. If you see dark or black specks and it starts to smell off, it's likely burnt. If you see some brown specks but still quite a few white or lighter specks, it needs 30 to 45 seconds more. The sweet spot is amber butter with golden-brown specks and a nutty, hazelnut-like smell.
Yes! Substitute 1:1 for melted butter in any almost any of my baking recipes. It works beautifully in cookies, blondies, pancakes, frostings and quick breads. It's also amazing to use in Rice Krispie Treats (if you know, you know). For recipes that call for creamed butter, let the brown butter cool until it's solid before mixing.
Brown Butter Cookie Recipes

If you tried this recipe or any other recipe on my blog, please leave a 🌟 star rating and let me know how it went in the 📝 comments below. Thanks for visiting!
📖 Recipe
Want to Save This Recipe?
Enter your email & I'll send it to your inbox. Plus, get great new recipes from me every week!
By submitting this form, you consent to receive emails from Maple and Thyme.

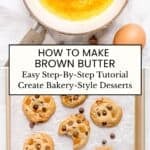
How to Make Brown Butter
Equipment
- light colored saucepan or frying pan
- spatula
- heat-proof bowl or container
Ingredients
- 1 cup unsalted butter
Instructions
- Cut 1 cup (2 sticks) of unsalted butter into tablespoon-sized pieces and add them to a light-colored skillet or saucepan.1 cup unsalted butter
- Place the pan over medium heat. The butter will melt in 2 to 3 minutes. Swirl the pan or mix with a spatula to keep the butter moving.
- Once the butter has melted, it will start to foam and bubble. This is the water cooking off, you want to keep going. Continue to mix every 30 seconds or so.
- As the foam begins to disappear and the bubbles get smaller and quieter, watch closely. The milk solids will sink to the bottom of the pan and begin to toast. You'll start to see golden brown specks form and you will smell a nutty, hazelnut-like smell.
- Once the butter is a deep amber color and all of the specks are golden brown, immediately remove the pan from the heat and pour the butter into a heatproof bowl. The butter will quickly go from browned to burnt. Get it out of the pan right away.
- Be sure to scrape every brown speck out of the pan as that's where the flavor is. Use right away, or cool and store for later.
Amanda Smallwood says
Brown butter is one of those steps I used to skip, thinking it couldn't make much of a difference. Boy was I wrong! Want to level up your cookies, blondies and pancakes? Make them with brown butter!