
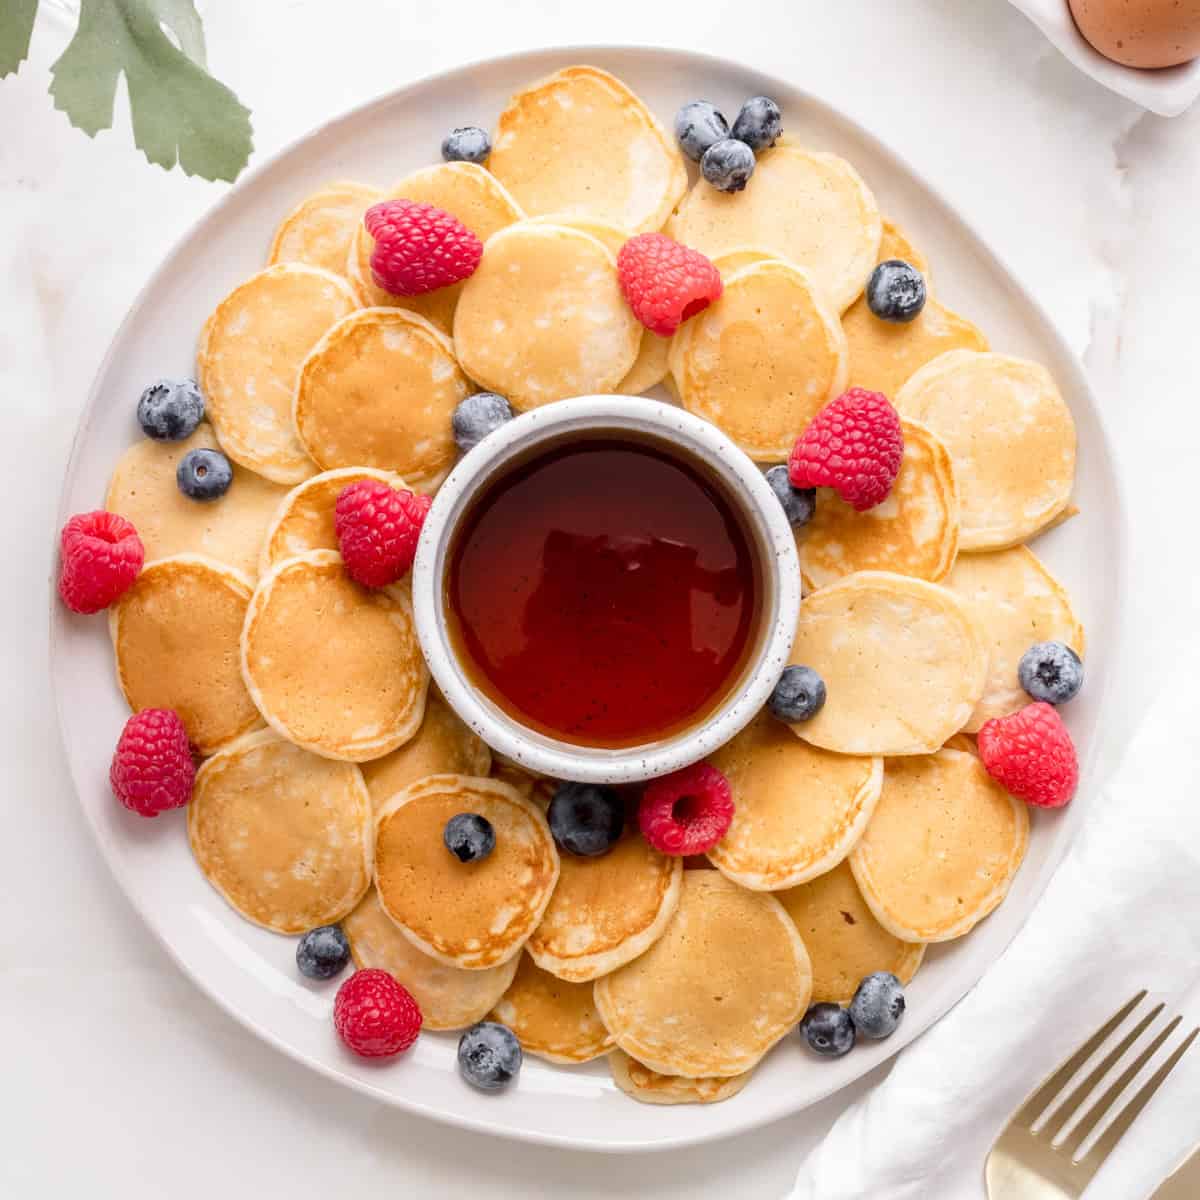
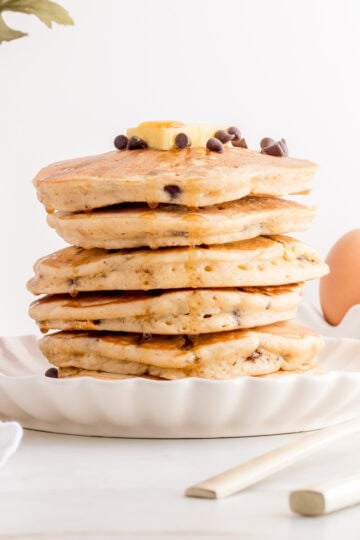
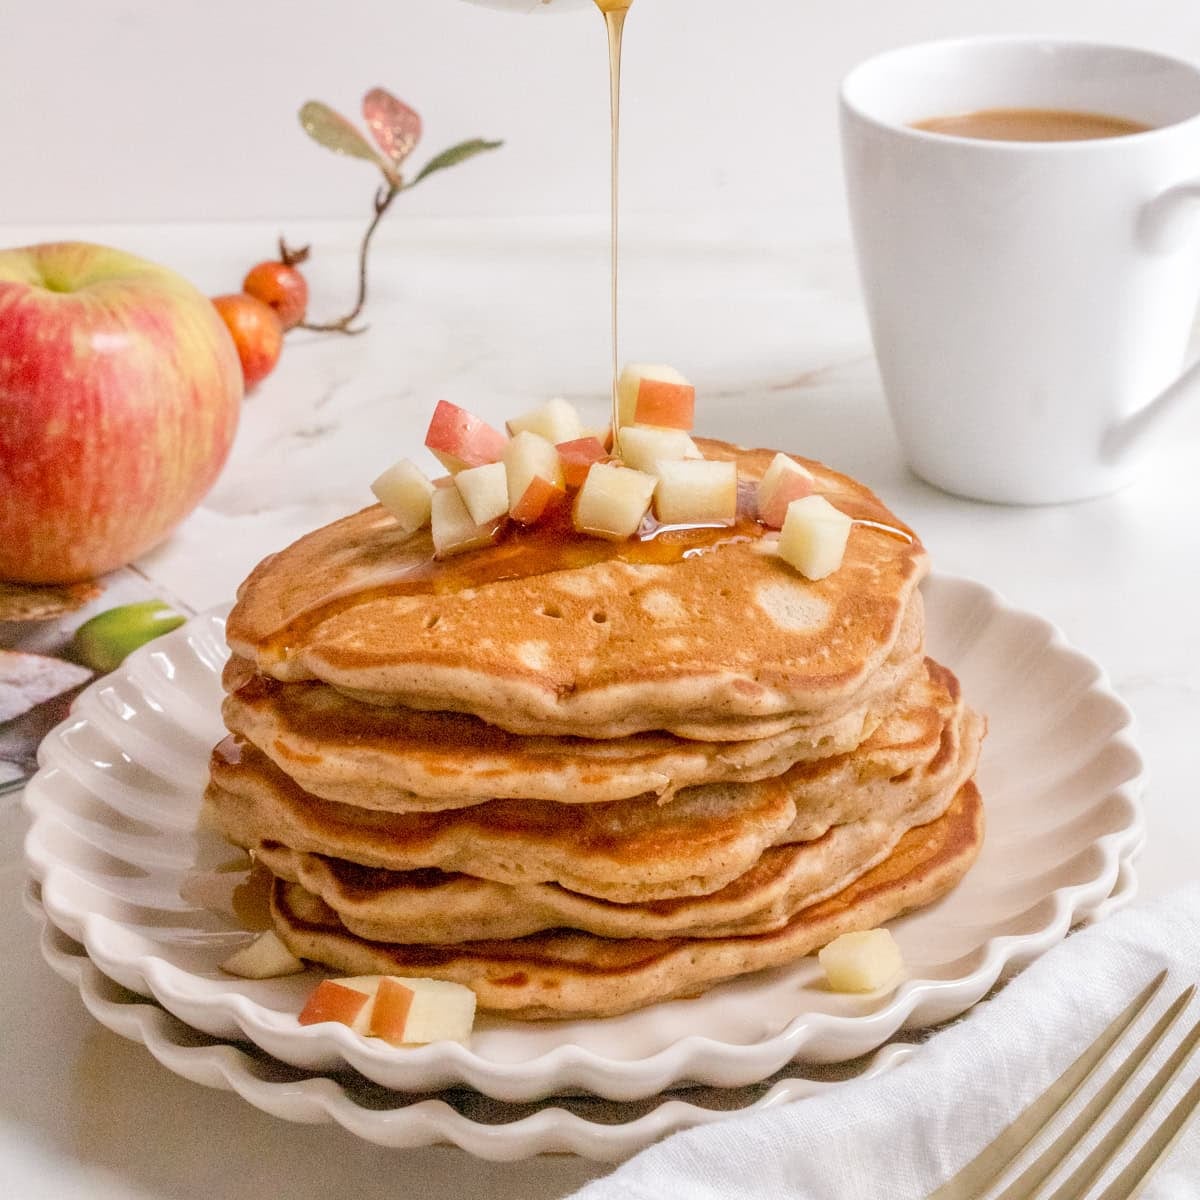
The secret to light and fluffy mini pancakes isn't the recipe - it's the method. Warming the milk with the butter before adding it to the batter keeps the melted butter from seizing up and creates a smooth, cohesive mix with a noticeably tender crumb. Small pancakes cook faster than a standard stack and this mini pancakes recipe makes about 50 pancakes. The key is medium heat and patience. Wait for those tiny bubbles to form on the surface of the batter before you flip and you'll get perfectly golden pancakes every time.
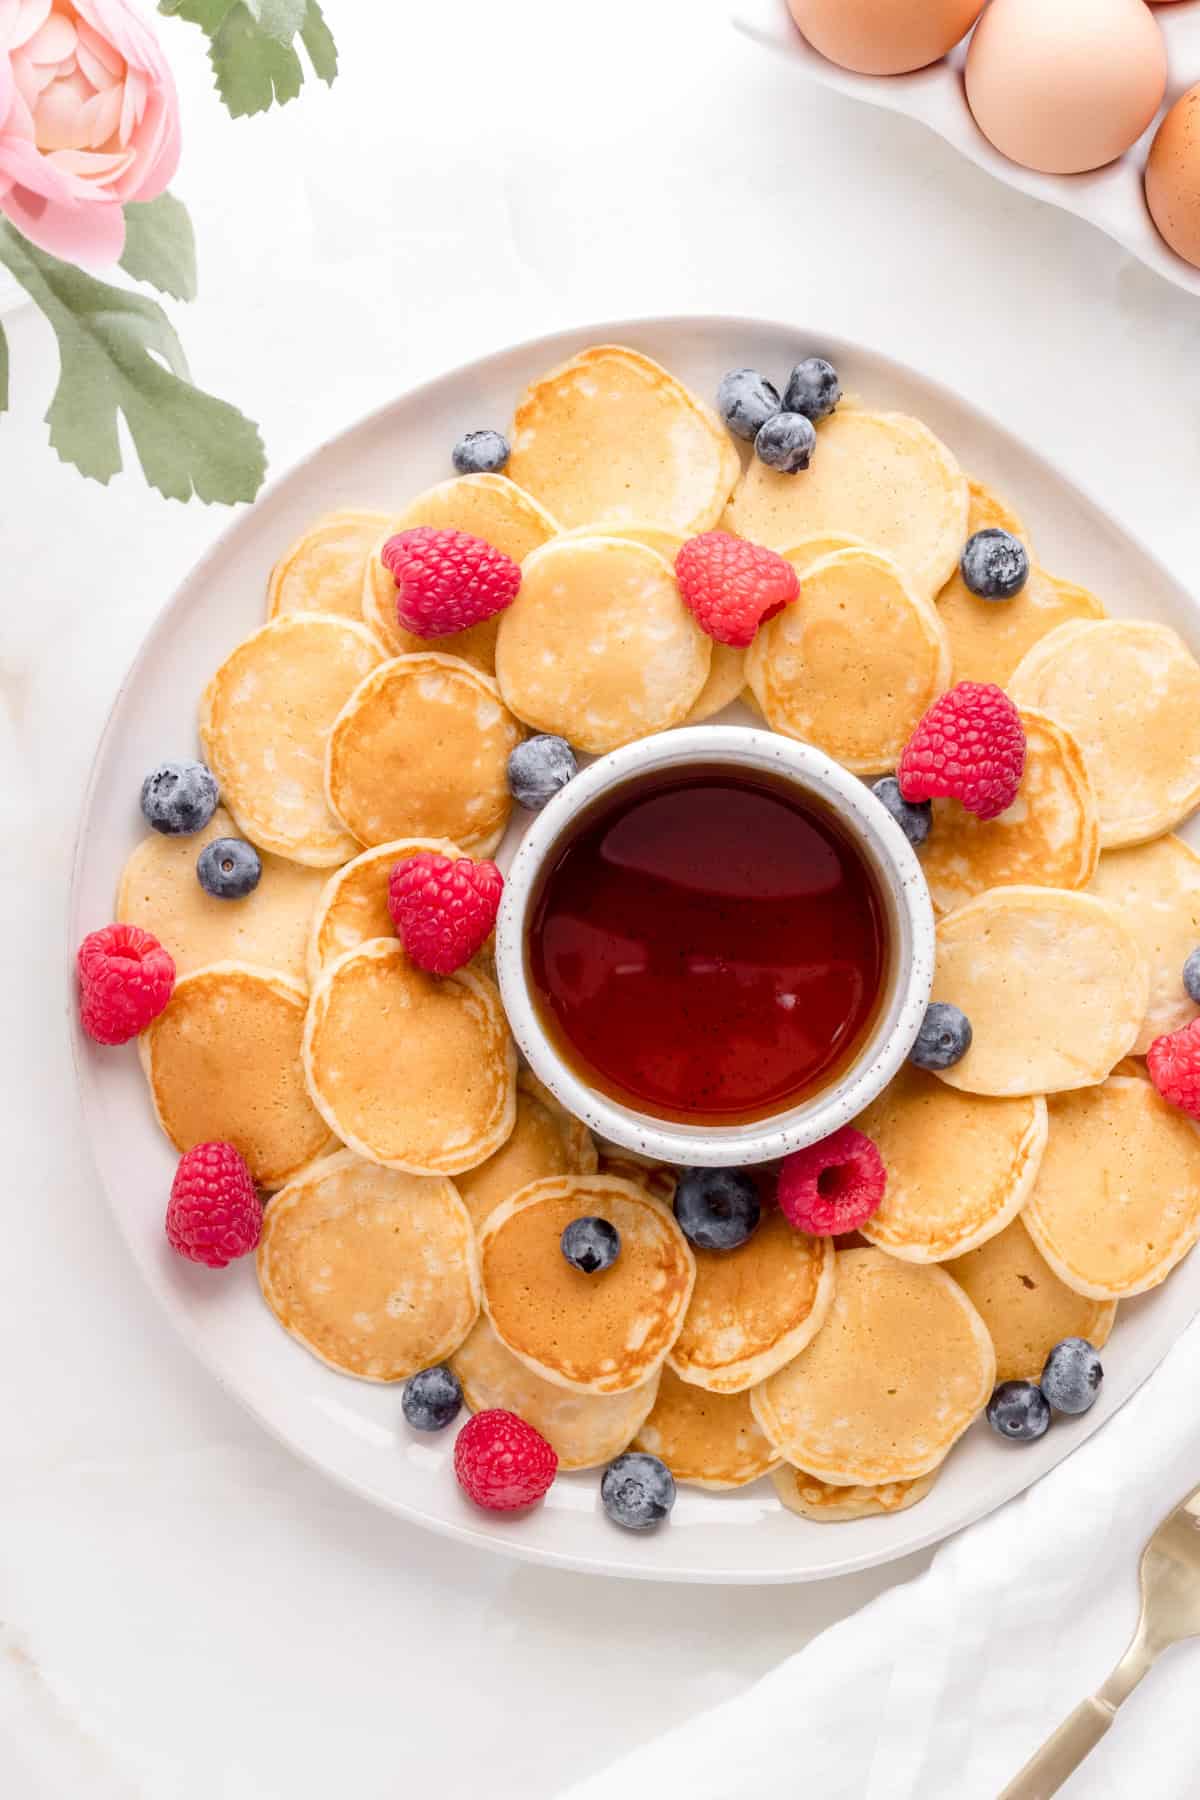
Pile them up with fresh fruit and warm maple syrup for a fun weekend breakfast or let the kids build their own little stacks. This batter is easy to make ahead - mix it up and store in the refrigerator - scoop to order when you're ready. If you love a good pancake morning, browse all of my pancake recipes for more ideas.
Quick Look: Mini Pancakes
- Ready In: about 15 minutes
- Makes: 50 mini pancakes
- Calories: 21 kcal per pancake
- Add to Your Shopping List: unsalted butter and buttermilk
- Dietary Info: contains gluten, dairy and eggs
- Baker's Note: You'll need a mini cookie scoop (1 teaspoon) to get uniform, round pancakes that cook evenly. It's the one tool that makes this recipe work.
Summarize and Save This Content
Jump to:
Ingredients for Mini Pancakes
Be sure to see the recipe card for the full list of ingredients and detailed recipe instructions.

Buttermilk - Buttermilk reacts with the baking powder to create lift, which gives these mini pancakes their light, fluffy texture. If you don't have buttermilk in the fridge, make a quick substitute - add one tablespoon of white vinegar or lemon juice to one cup of milk, mix, and let it rest for five minutes before adding to your batter.
Unsalted Butter - Using unsalted butter gives you full control over how much salt is in the recipe. Warming the butter together with the milk keeps it from seizing up when it hits the other ingredients, creating a smooth and cohesive batter.
Baking Powder - Fresh baking powder makes a real difference here. If yours has been sitting around for a while, test it before you start baking. Add a teaspoon to hot water and it should bubble right away. If it doesn't, it's time to get a new can. Always use non-aluminum baking powder.
How to Make Mini Pancakes

- Mix the dry ingredients. Add the flour, sugar, baking powder and salt to a medium mixing bowl and whisk to combine.

- Warm the butter and milk. Melt your butter in a two cup glass measuring cup or small bowl in the microwave. Add the buttermilk and warm for another 30 seconds. Whisk the eggs and vanilla into the warm butter and milk.

- Mix it together. Pour the wet ingredients into the dry ingredients and mix until just combined. A few lumps in the batter are completely fine - overmixing will lead to flat, tough pancakes. Stop stirring as soon as you don't see dry flour.

- Scoop and cook. Use a mini cookie scoop to drop small circles of batter onto the pan. Because they're tiny, you can fit several in the pan at once - just leave space between the pancakes so they are easy to flip.

- Watch for bubbles, then flip. Once you see tiny bubbles forming on the surface of the batter, and the edges look set, flip each one and cook for an additional minute on the second side.

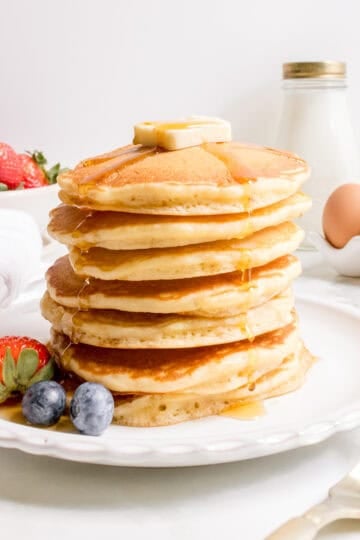
- Serve fresh. I find that pancakes are best served right away. Pile them high and top with fresh berries, powdered sugar and maple syrup.
Notes From My Test Kitchen
When I first started making pancakes, I made a mess of my microwave more than once when I was melting the butter. Now I always place a paper towel loosely over the measuring cup so that the butter doesn't splatter and leave a mess. I've also learned to be careful with the temperature of the milk and butter. If it's too cold, the butter will solidify on the surface of the milk. If it's too hot, you will cook the eggs when you add them. I always aim for liquid ingredients that are just warm when you dip your finger in. If it feels too hot, let it cool for a minute.
I always make one test pancake before I commit to making a full batch and this recipe was no exception. It's the best way to know that your batter and your pan are ready. When I tested this recipe, I found that I needed just a little more buttermilk to get the consistency right - you want it just a little bit thicker than you might think but smooth and pourable. If yours feels a little too thick, add buttermilk a tablespoon at a time until it's smooth and pourable.
I always store my leftover batter in a Mason or jelly jar in the refrigerator overnight - it works perfectly. If it thickens up a bit by morning, I give it a quick stir and add a little bit of buttermilk if needed to bring it back to the right consistency before scooping.
Substitutions
Buttermilk - No buttermilk in the fridge? Make a quick substitute by adding one tablespoon of white vinegar or lemon juice to one cup of milk. Mix, let it sit for five minutes, and use in place of the buttermilk.
Unsalted Butter - If you only have salted butter, go ahead and use it - just skip the added salt in the recipe.
How To Serve Mini Pancakes
These are fun on their own, but they're even better when you serve them with a little topping station and let everyone build their own stack. Here are some of my favorite ways to top them.
- Warm maple syrup - always my top choice
- Fresh berries - sliced strawberries, blueberries and raspberries all work well here.
- Whipped cream - a dollop on top makes these feel extra fancy
- Powdered sugar - a light dusting is simple and always a hit with the kids
- Nutella or peanut butter - a delicious combo with sliced bananas or fresh berries
- Sprinkles - turn these into funfetti mini pancakes - the kids will love them!
For more breakfast ideas to round out your weekend mornings, try our brioche French toast recipe or check out all of our breakfast recipes.
Mini Pancakes Recipe FAQs
Nope! A regular skillet or non-stick pan works perfectly. The mini cookie scoop is what makes them small and round, not the pan.
A standard mini cookie scoop holds about 1 teaspoon of batter which makes a pancake that is about 2 inches across. That's the sweet spot for this recipe.
Yes! Mix your batter up the night before, cover it, and keep it in the fridge. Give it a gentle mix before scooping and cooking. The batter keeps well for up to 2 days in the refrigerator.
The most likely culprits are too much liquid and old baking powder. Start with ¾ cup of buttermilk and then add more, one tablespoon at a time until your batter is smooth and easy to scoop onto the pan. Also check that your baking powder is still active.
Absolutely! Let them cool completely, then freeze in a single layer on a baking sheet before transferring them to a freezer bag or container. They keep for up to 2 months and can be reheated in the oven (wrapped in aluminum foil) or in the microwave (wrapped with a damp paper towel).
It's easy to make this mini pancake recipe gluten free. Swap the all-purpose flour for your favorite gluten free flour mix. Results may vary depending on your blend, but they'll still come out light and fluffy. You might also love my best gluten free pancakes recipe.
How To Store Mini Pancakes
In the fridge: Store cooled pancakes in an airtight container in the fridge for up to 3 days. Wrap in a damp paper towel and reheat in the microwave for 10-20 seconds or warm them in the oven wrapped in aluminum foil.
In the freezer: These freeze really well. Cool them completely, freeze in a single layer on a baking sheet, and then transfer to a freezer bag or container with a little bit of parchment paper between the pancakes. They keep for up to 2 months. Reheat straight from frozen in the oven or microwave.
Leftover batter: Cover and refrigerate for up to 2 days. Give it a quick mix before using.

If you tried these Mini Pancakes or any other recipe on my blog, please leave a 🌟 star rating and let me know how it went in the 📝 comments below. Thanks for visiting!
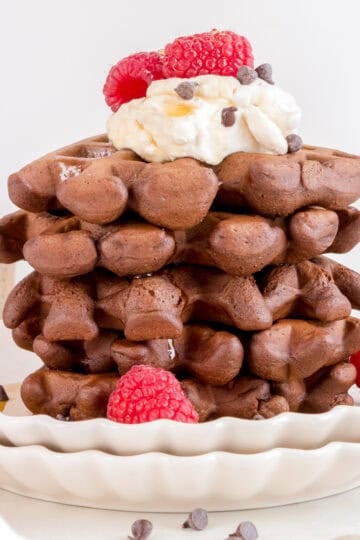
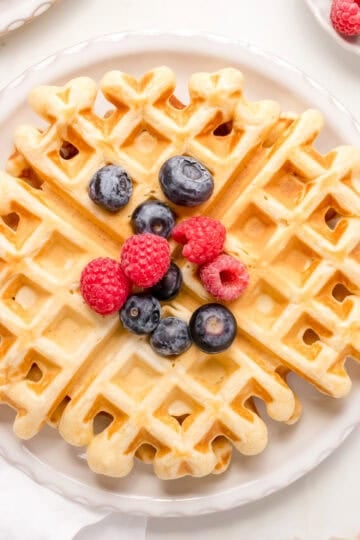
Recipes to Serve with Mini Pancakes

📖 Recipe
Want to Save This Recipe?
Enter your email & I'll send it to your inbox. Plus, get great new recipes from me every week!
By submitting this form, you consent to receive emails from Maple and Thyme.

Mini Pancakes
Equipment
- glass measuring cup (2 cups)
- medium mixing bowl
- measuring cups
- measuring spoons
- whisk
- frying pan or griddle
- spatula
- mini cookie scoop (1 teaspoon)
Ingredients
- 1 cup all-purpose flour
- 2 tablespoons sugar
- 2 teaspoons baking powder
- ½ teaspoon salt
- 2 tablespoons unsalted butter melted
- ¾ cup buttermilk warmed
- 1 large egg
- 1 teaspoons vanilla
- 1 tablespoon butter or canola oil for frying the pancakes
Instructions
- Combine flour, sugar, baking powder, and salt in a medium mixing bowl. Whisk to combine.1 cup all-purpose flour, 2 tablespoons sugar, 2 teaspoons baking powder, ½ teaspoon salt
- In the microwave melt the butter in a two cup glass measuring cup or small mixing bowl. Add milk and warm for 30-60 seconds, until butter remains melted on the surface of the milk.2 tablespoons unsalted butter, ¾ cup buttermilk
- Add egg and vanilla to the milk and butter mixture. Whisk to combine.1 large egg, 1 teaspoons vanilla
- Add liquid ingredients to the dry ingredients and mix until just combined.
- In a large frying pan, warm 1 tablespoon butter or oil over medium heat. Once the butter or oil is warmed, drop the batter into the hot butter or oil. Use a mini cookie scoop (1 teaspoon) for uniform, round pancakes.
- Once tiny bubbles begin to form on the surface of the pancakes, flip them over and cook on the second side, for about one minute more.
- Serve pancakes with butter, fresh fruit and a drizzle of warm maple syrup.
Notes
- Make a test pancake - make one before committing to the full batch to check your batter consistency and pan temperature.
- Batter Consistency - if the batter feels too thick, add extra buttermilk one tablespoon at a time.
- Make ahead - batter can be stored in the refrigerator for up to 2 days.
- Storage - cooled pancakes keep in an airtight container in the fridge for up to 3 days or frozen for up to 2 months.
Madeline says
My new favorite go-to pancake recipe! It maintains the perfect fluffiness and the flavor is so good it doesn’t even need syrup. Recipe was clear with instructions. Highly recommend!
Amanda Smallwood says
Thanks so much for your feedback Madeline! I’m so happy to hear that your pancakes came out yummy and that the recipe was easy to follow. xo Amanda