
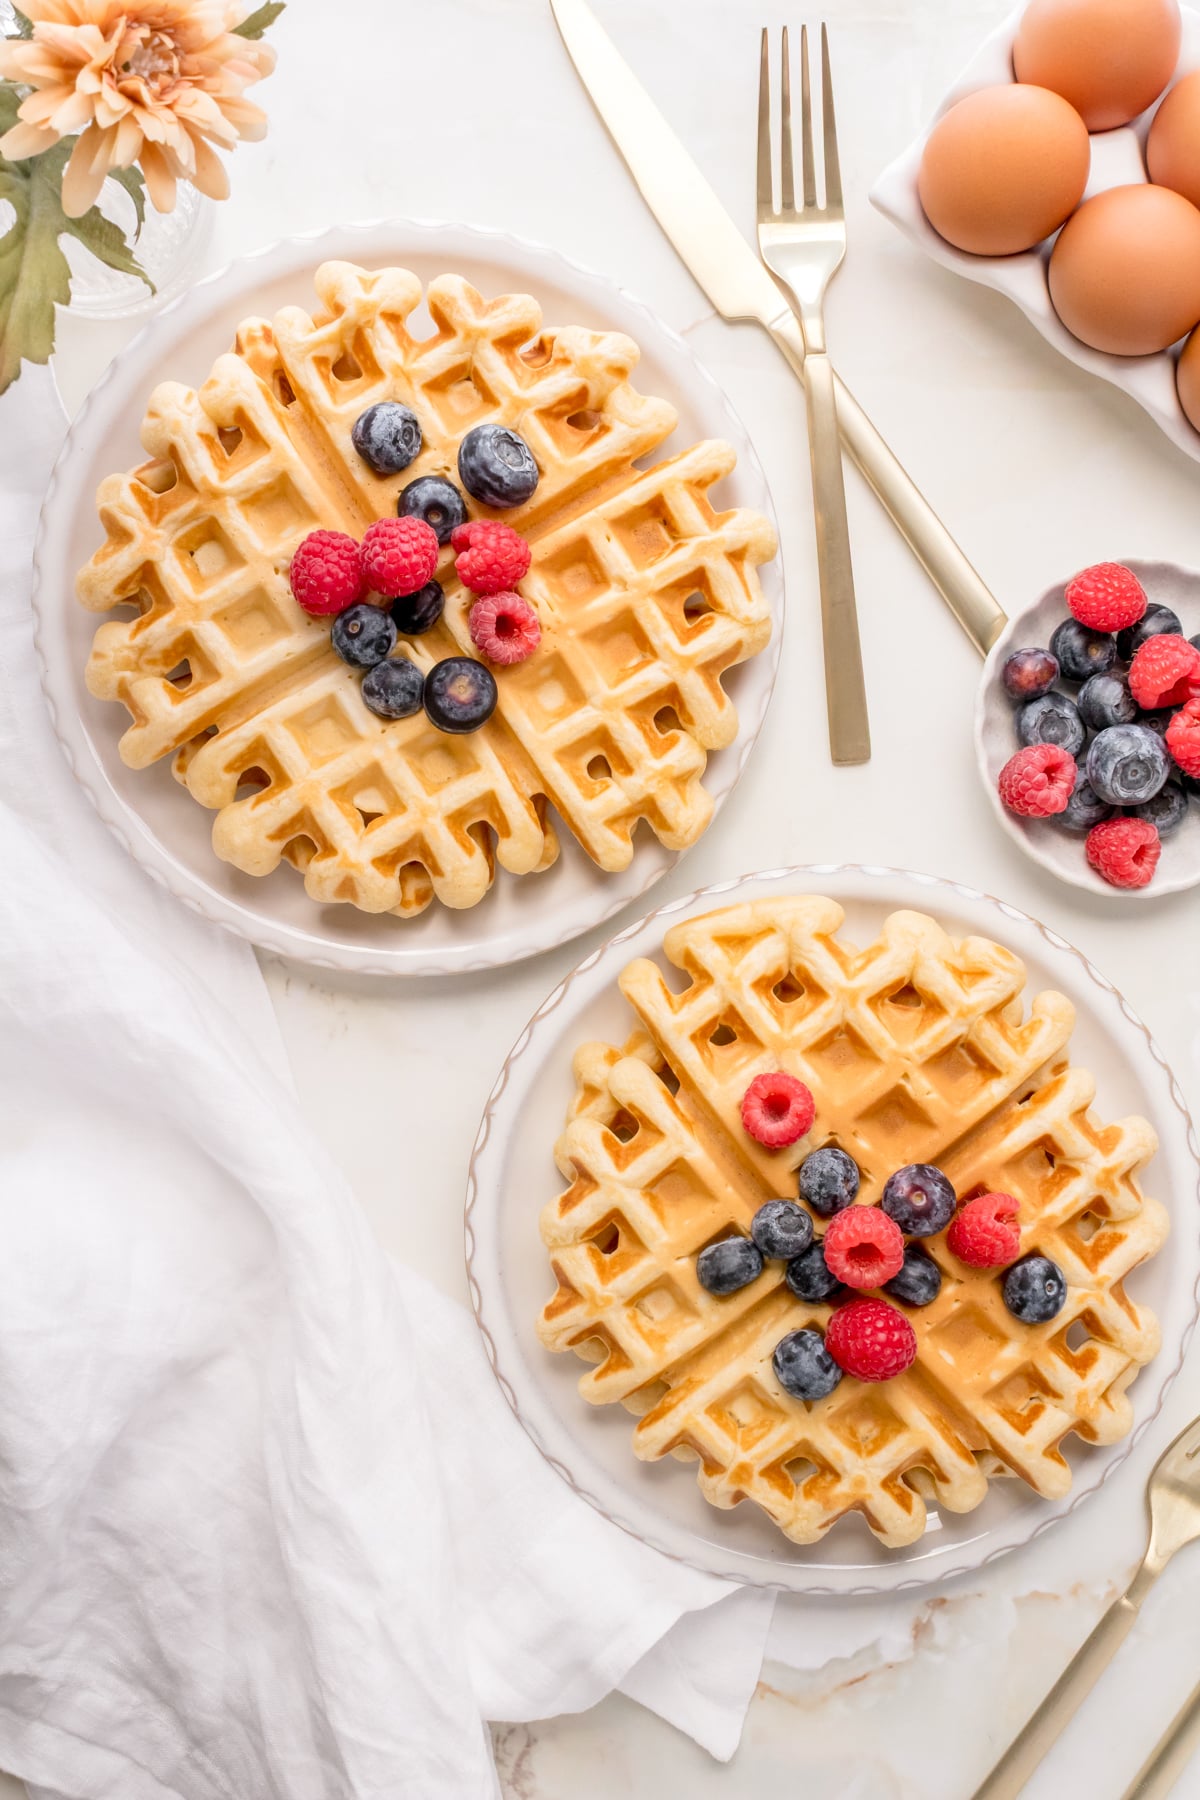
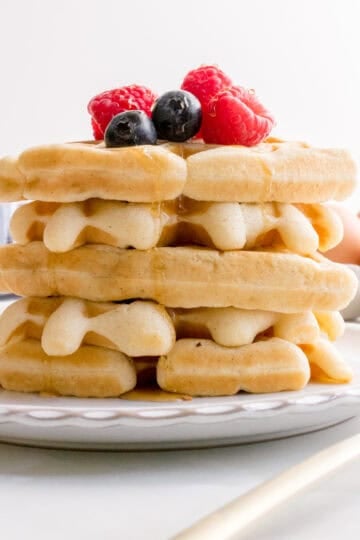
These buttermilk waffles are light and fluffy on the inside and perfectly crisp on the outside - this is my go-to waffle recipe that I come back to every single weekend. One bowl, 20 minutes, no whipping egg whites and waffles that turn out perfectly golden brown every time.
The secret is a teaspoon of cornstarch in the batter. It's a small addition that makes a big difference. This waffle recipe is noticeably lighter and fluffier without any extra steps. Combined with real buttermilk and a hot, well-greased waffle iron, you get the kind of waffles you'd expect from your favorite brunch spot.
New to making waffles from scratch? You're in the right place. This post will teach you everything you need to know about how to make waffles. And if waffles are your thing, check out our gluten free waffles, or our pumpkin pecan waffles.

Quick Look: Buttermilk Waffles
- Ready In: 20 minutes
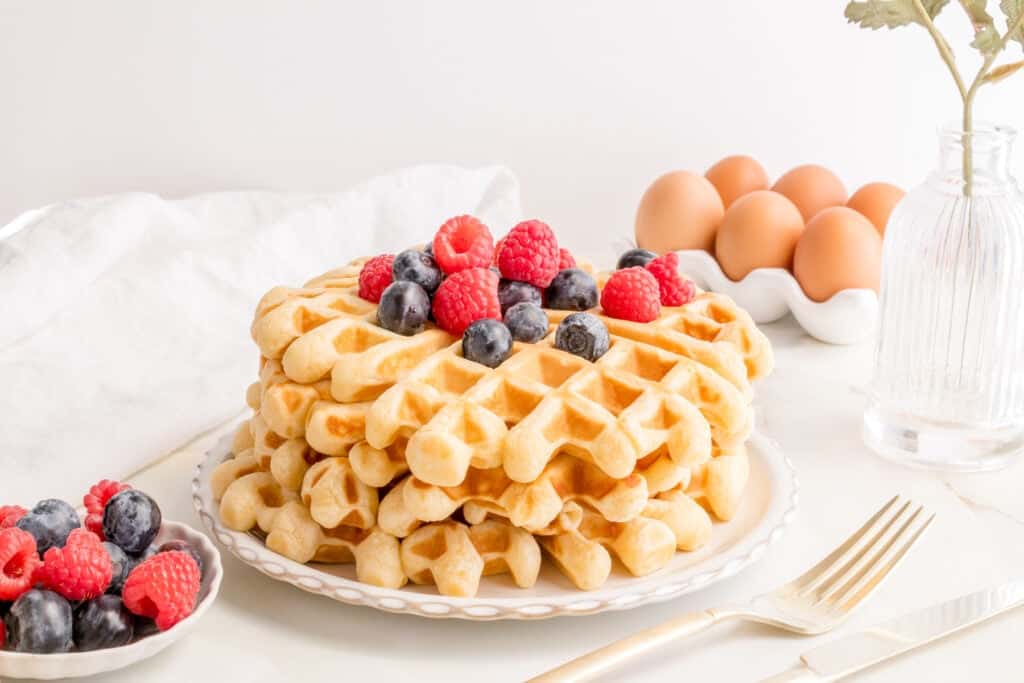
- Makes: 4 Belgian waffles or 6-8 regular waffles
- Calories: about 350 kcal per waffle
- Add to Your Shopping List: buttermilk - real, full-fat buttermilk makes the biggest difference in flavor and texture
- Dietary Info: contains gluten, eggs and dairy
- Baker's Note: Don't skip the cornstarch. It's the small addition that makes these waffles noticeably lighter and fluffier than a standard buttermilk waffle recipe.
Summarize and Save This Content
⭐️⭐️⭐️⭐️⭐️
"Excellent recipe! Fluffy, light, and quick. I used powdered buttermilk (reconstituted per package directions) and the results were perfect. My new go-to recipe."
- Kathy
Jump to:
Key Ingredients
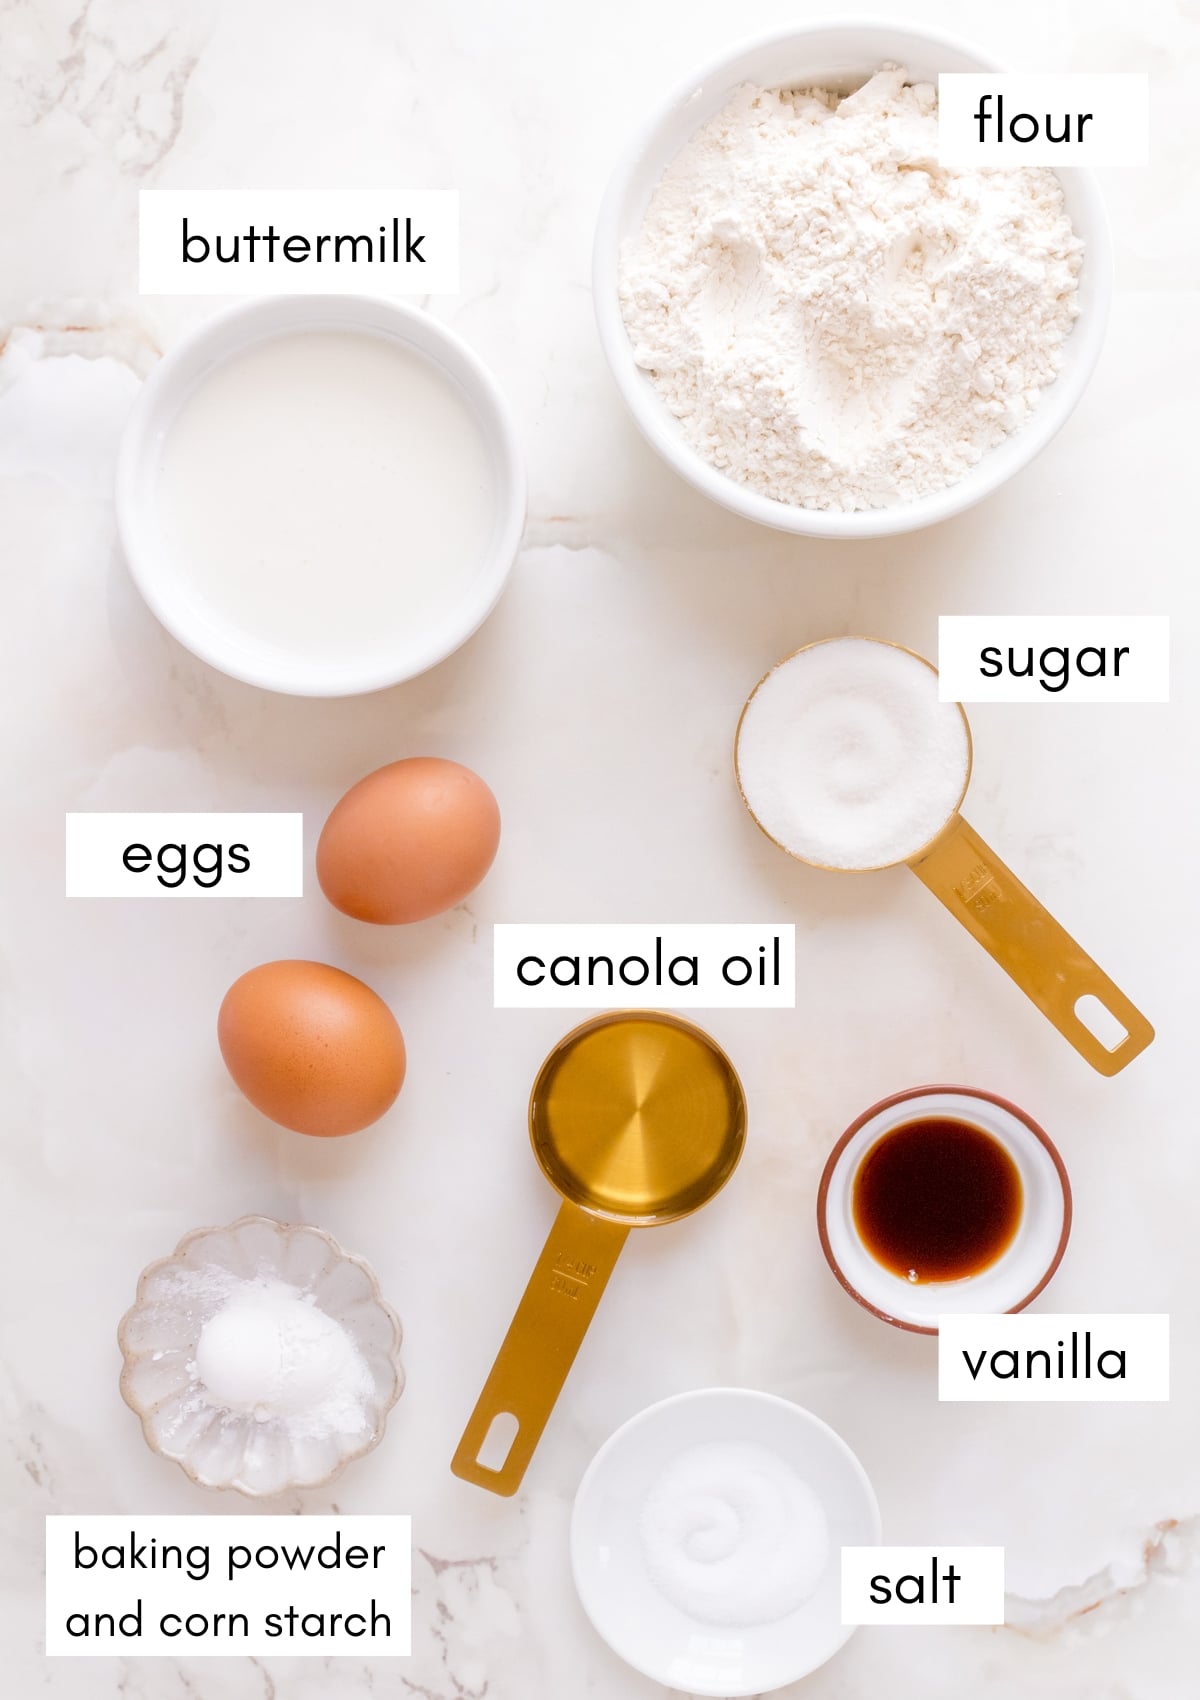
Buttermilk - full-fat, real buttermilk is the star of this waffle recipe. It gives the waffles their classic buttermilk flavor and works with the baking powder to help them rise. Don't swap for milk - the flavor and texture won't be the same. See below for ways to "make" buttermilk at home if you don't have it.
Cornstarch - the secret to extra fluffy waffles. One teaspoon of cornstarch mixed in with the dry ingredients softens the texture and gives you tender, airy waffles without having to whip egg whites or take any extra steps.
Canola oil - I use a neutral oil like canola oil because it keeps the waffles tender and crisp without adding any competing flavor. It also makes this a true one bowl recipe - no butter melted required.
Substitutions and Variations
Variations: This buttermilk waffle recipe is the perfect base to customize. A few of my favorites:
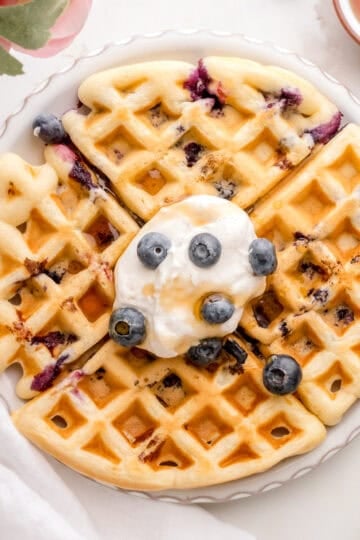
Blueberry buttermilk waffles - fold ¾ cup fresh blueberries into the batter just before cooking. I also like to add fresh blueberries to the top of the waffles as they come off the iron.
Cinnamon buttermilk waffles - add a teaspoon of cinnamon along with the dry ingredients.
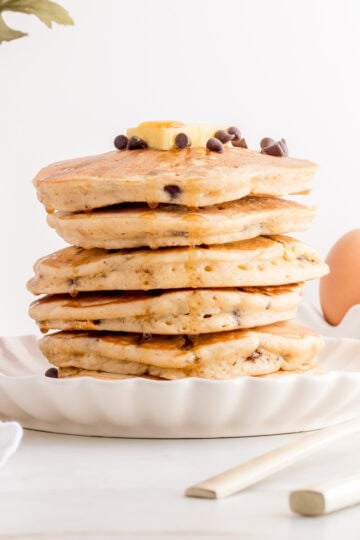
Chocolate chip waffles - fold in ⅔ cup mini chocolate chips into the waffle batter. Alternatively, you can sprinkle warm waffles with mini chocolate chips if everyone doesn't want chocolate in their waffles. If you like the idea of chocolate in your waffles, check out our chocolate waffles recipe.
Substitutions: A few notes on swapping ingredients in this recipe:
Substitute for buttermilk - real, full-fat buttermilk is what I recommend and it's what makes this recipe taste like a true buttermilk waffle. If you don't have any in the fridge, you can make a quick swap by stirring 1 tablespoon of white vinegar or lemon juice into 1 ¼ cups of whole milk. Let it sit for 5 minutes before adding to your recipe. The texture and flavor won't be quite the same, but it will work in a pinch.
Canola oil - any neutral oil works for this waffle recipe. Vegetable oil and grapeseed oil are great swaps. You can even melt 4 tablespoons of butter and use that!
All-purpose flour - for a gluten free version, I recommend heading over to my gluten free waffles recipe instead. It's been tested and tweaked and is a fan favorite with It's a fan favorite with 70+ ⭐⭐⭐⭐⭐ reviews and counting.
How To make Buttermilk Waffles
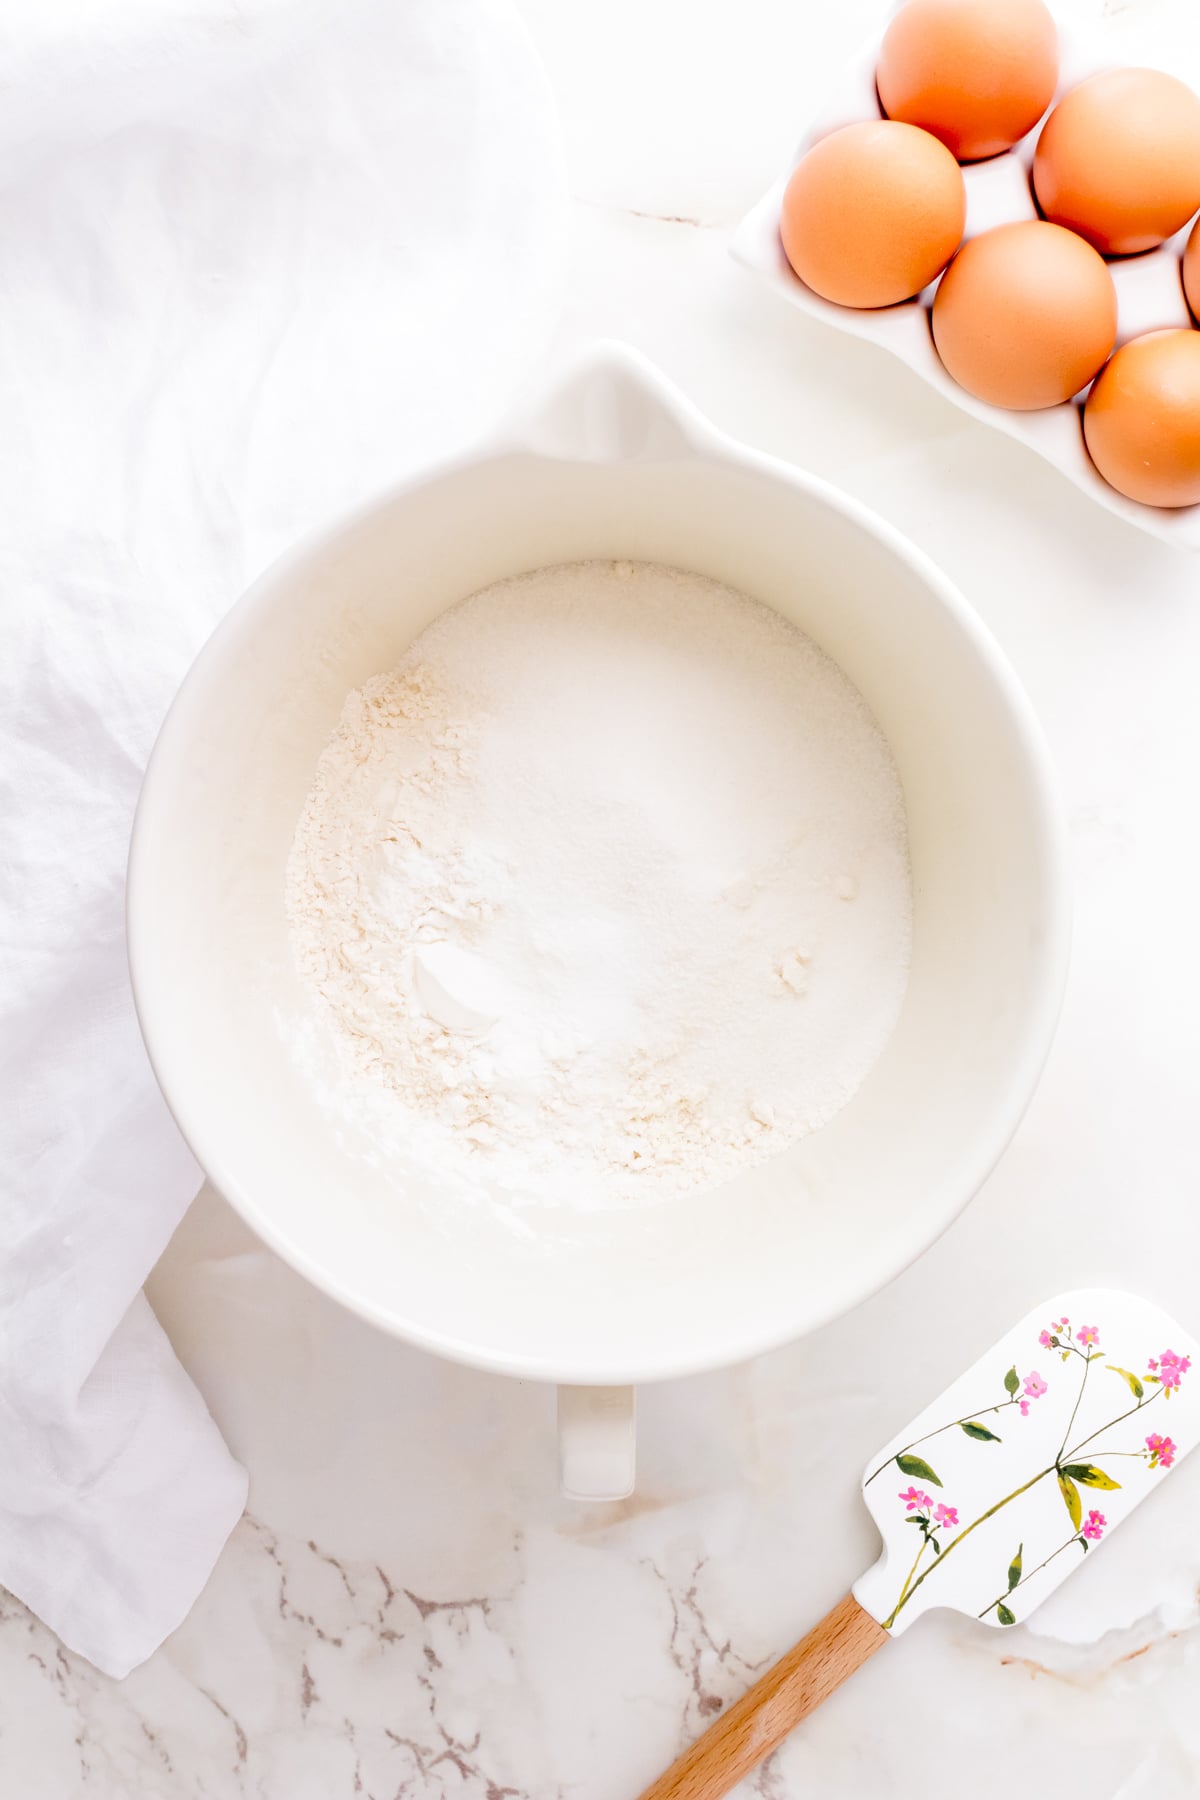
- Whisk the dry ingredients. In a large mixing bowl, whisk together the flour, sugar, baking powder, cornstarch and salt.
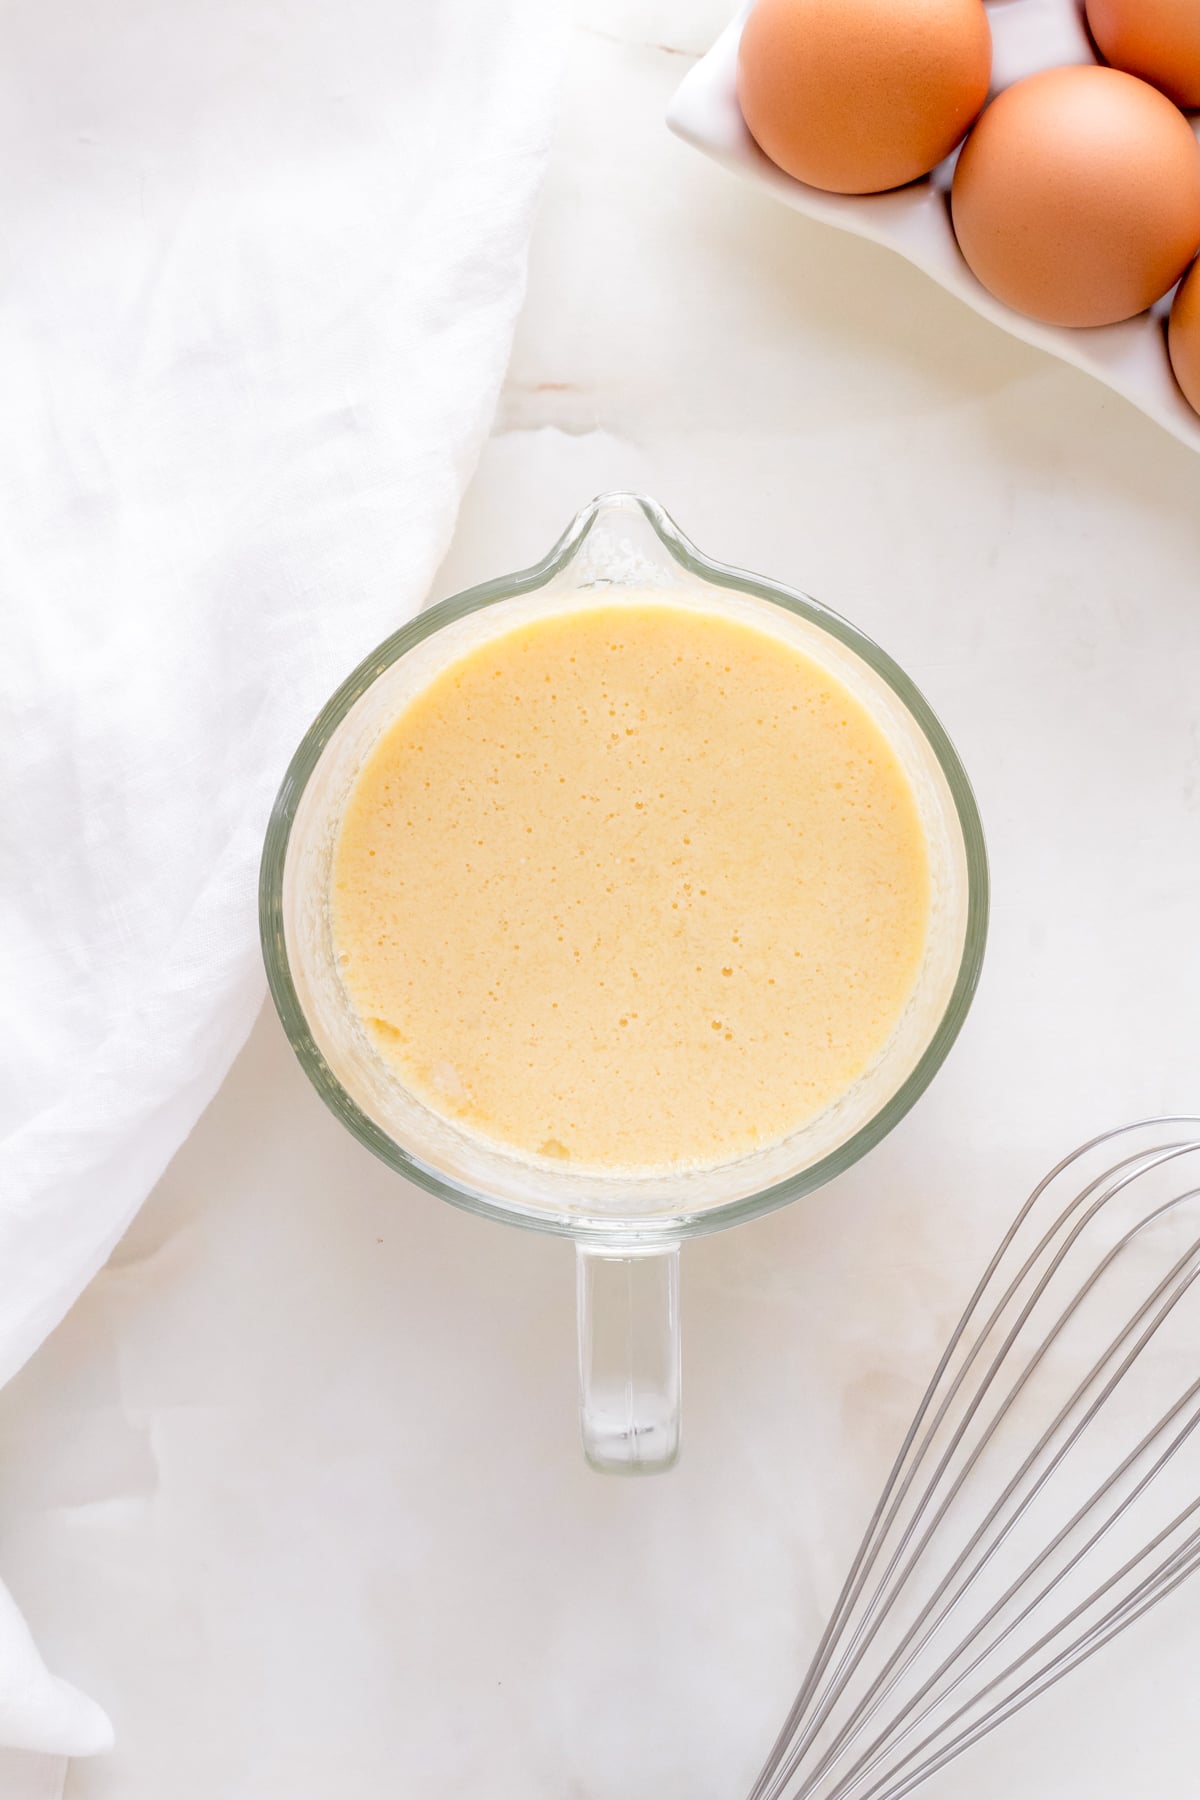
- Whisk the wet ingredients. In a glass measuring cup or medium bowl, whisk together the eggs, buttermilk, canola oil and vanilla until smooth.
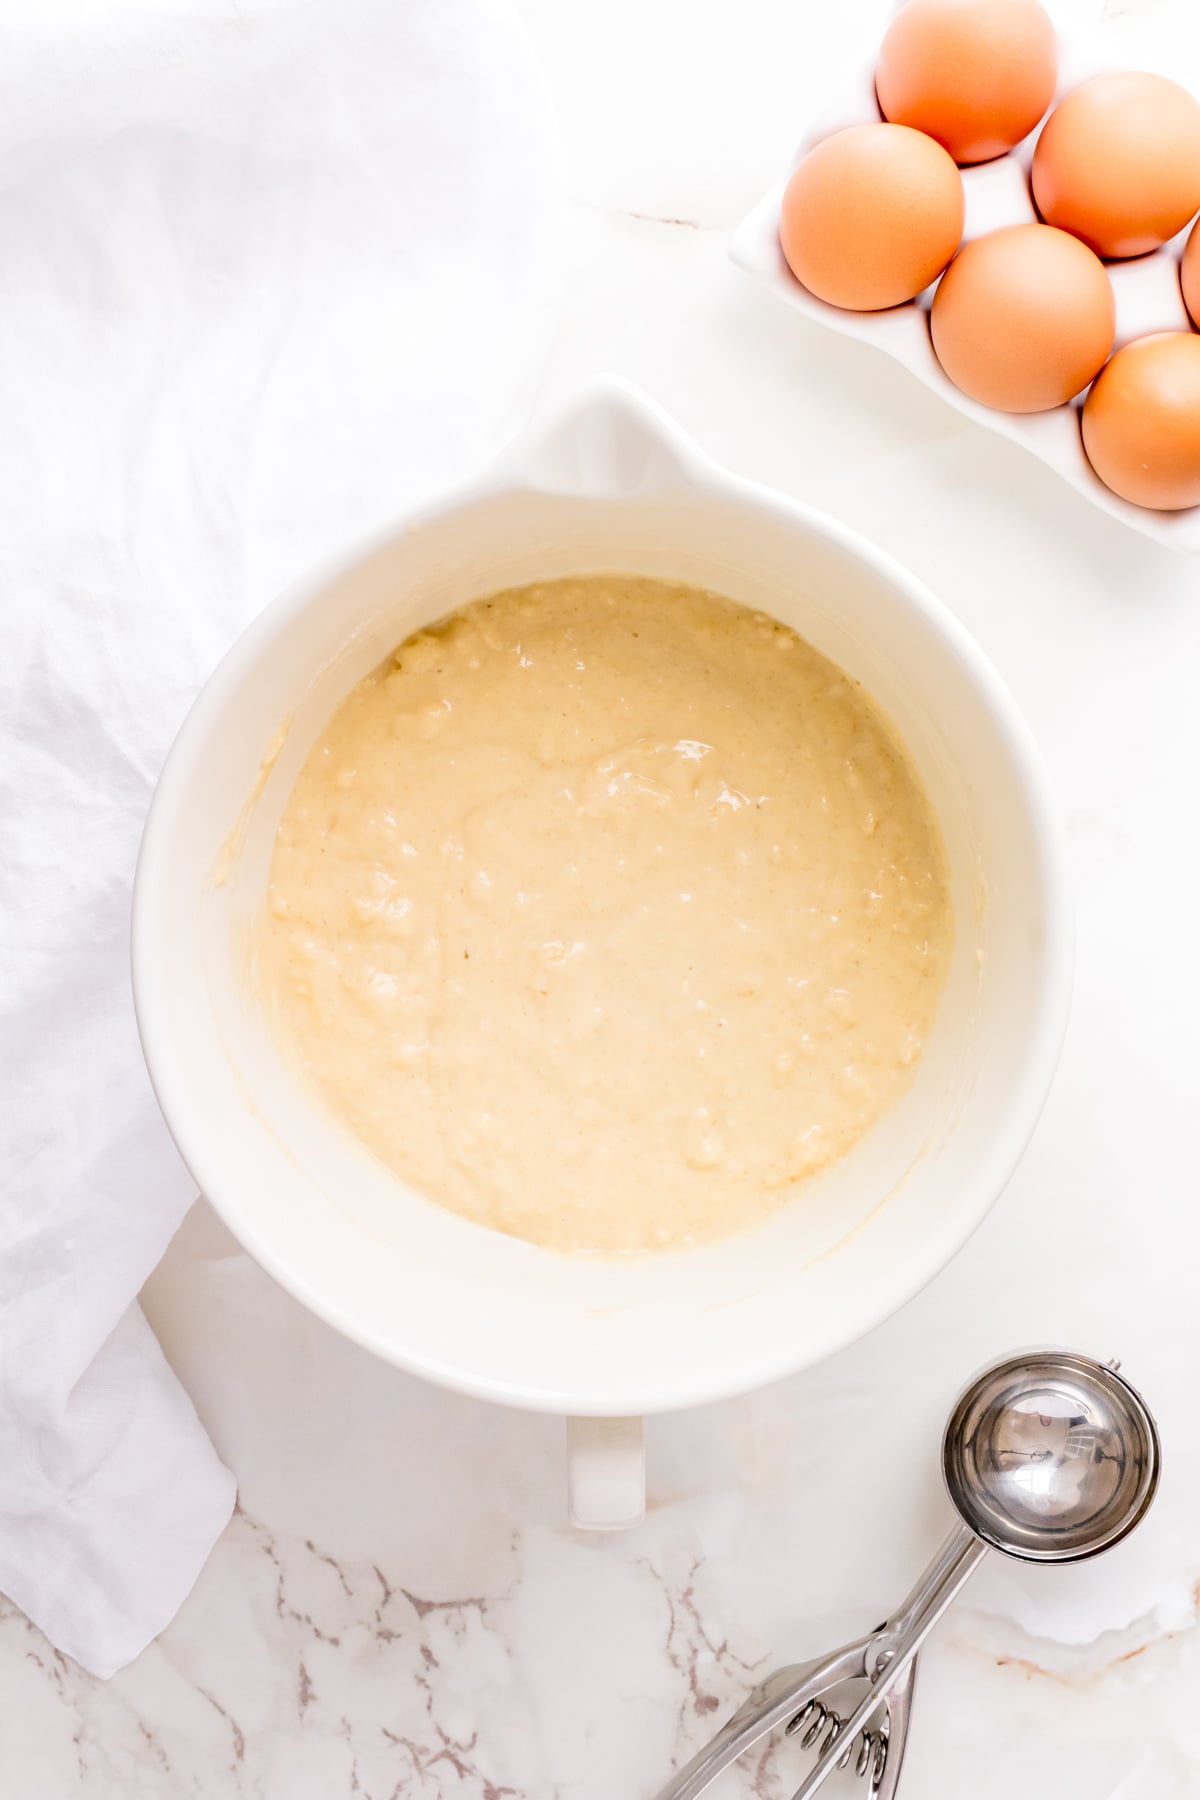
- Combine the wet and dry ingredients. Pour the liquid ingredients into the dry ingredients and stir until the batter just comes together. A few small lumps are fine. If the batter looks too thick, add a splash of buttermilk until it's pourable but still thick enough to hold its shape on a spoon.
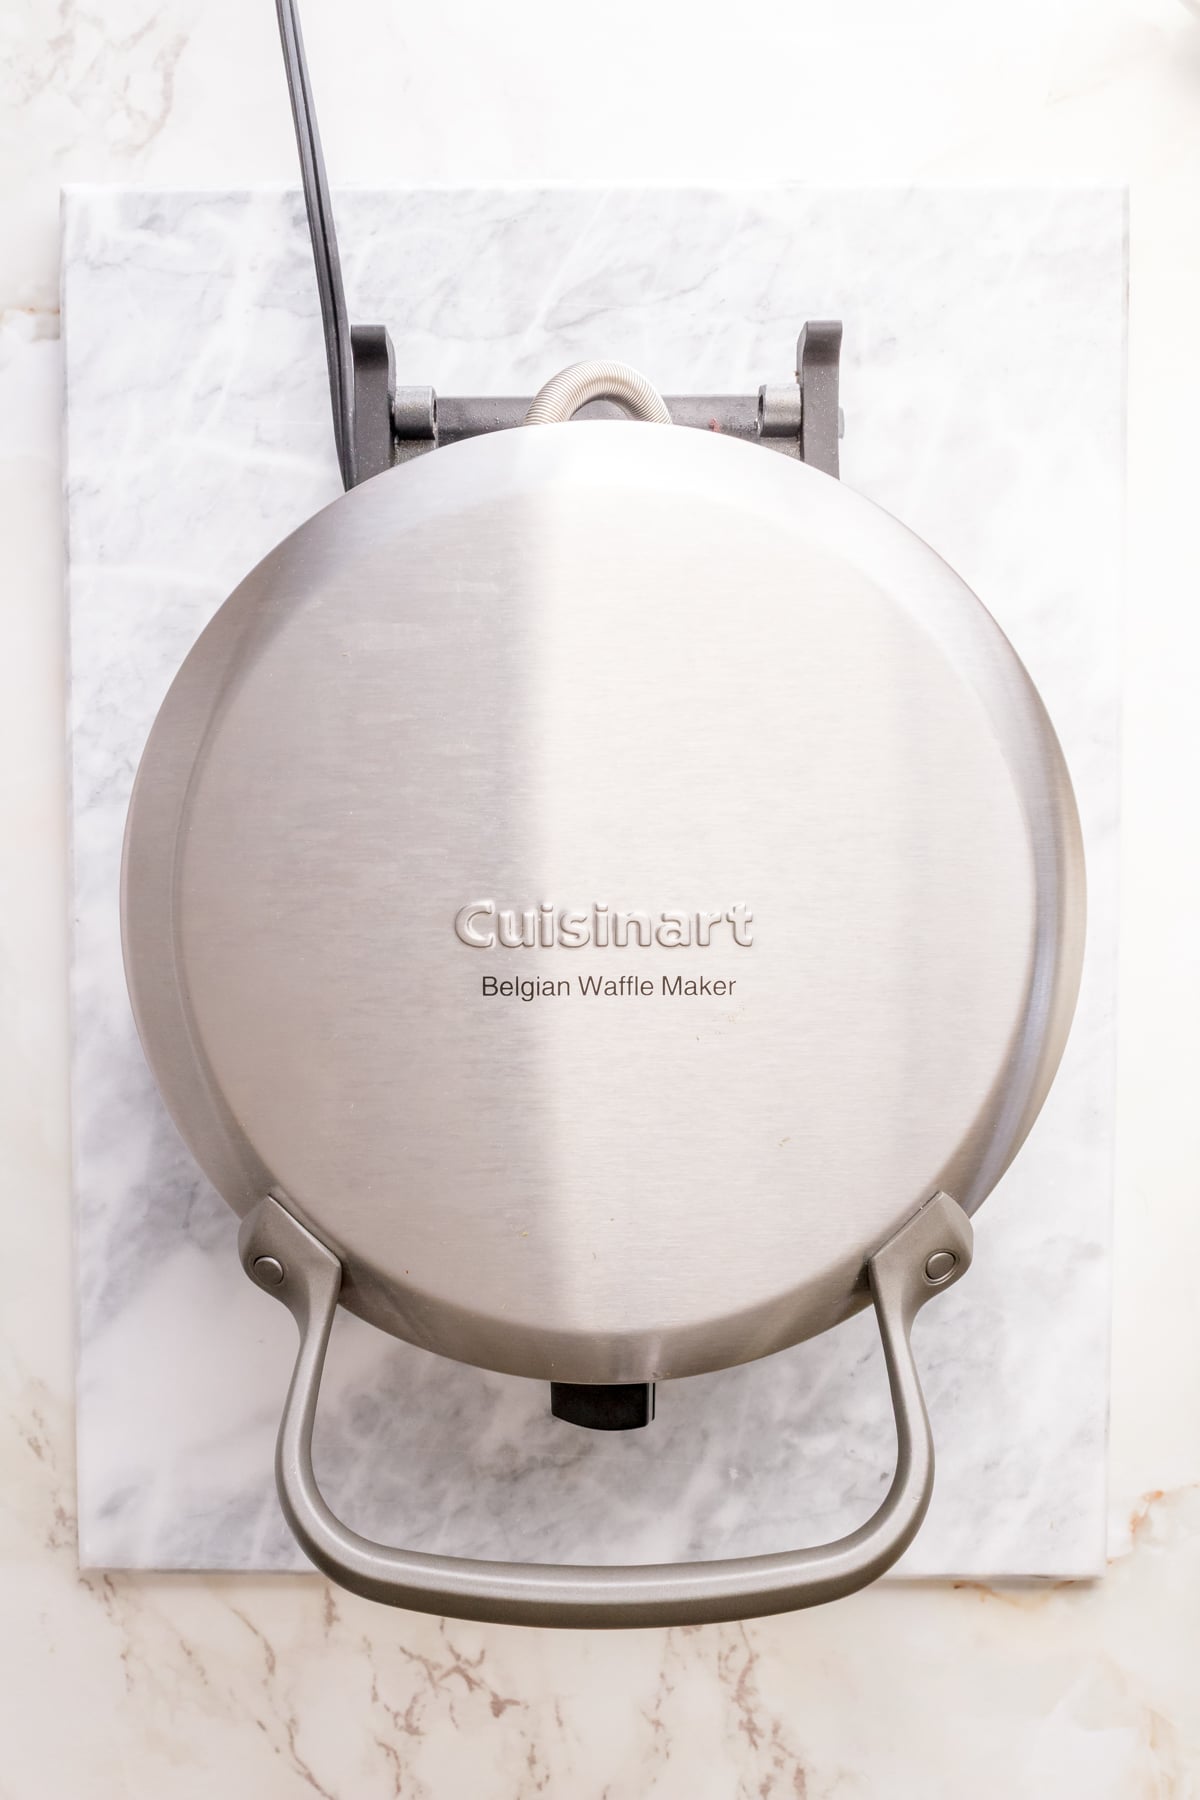
- Preheat and grease your waffle iron. Fully preheat your waffle iron and spray with nonstick cooking spray.
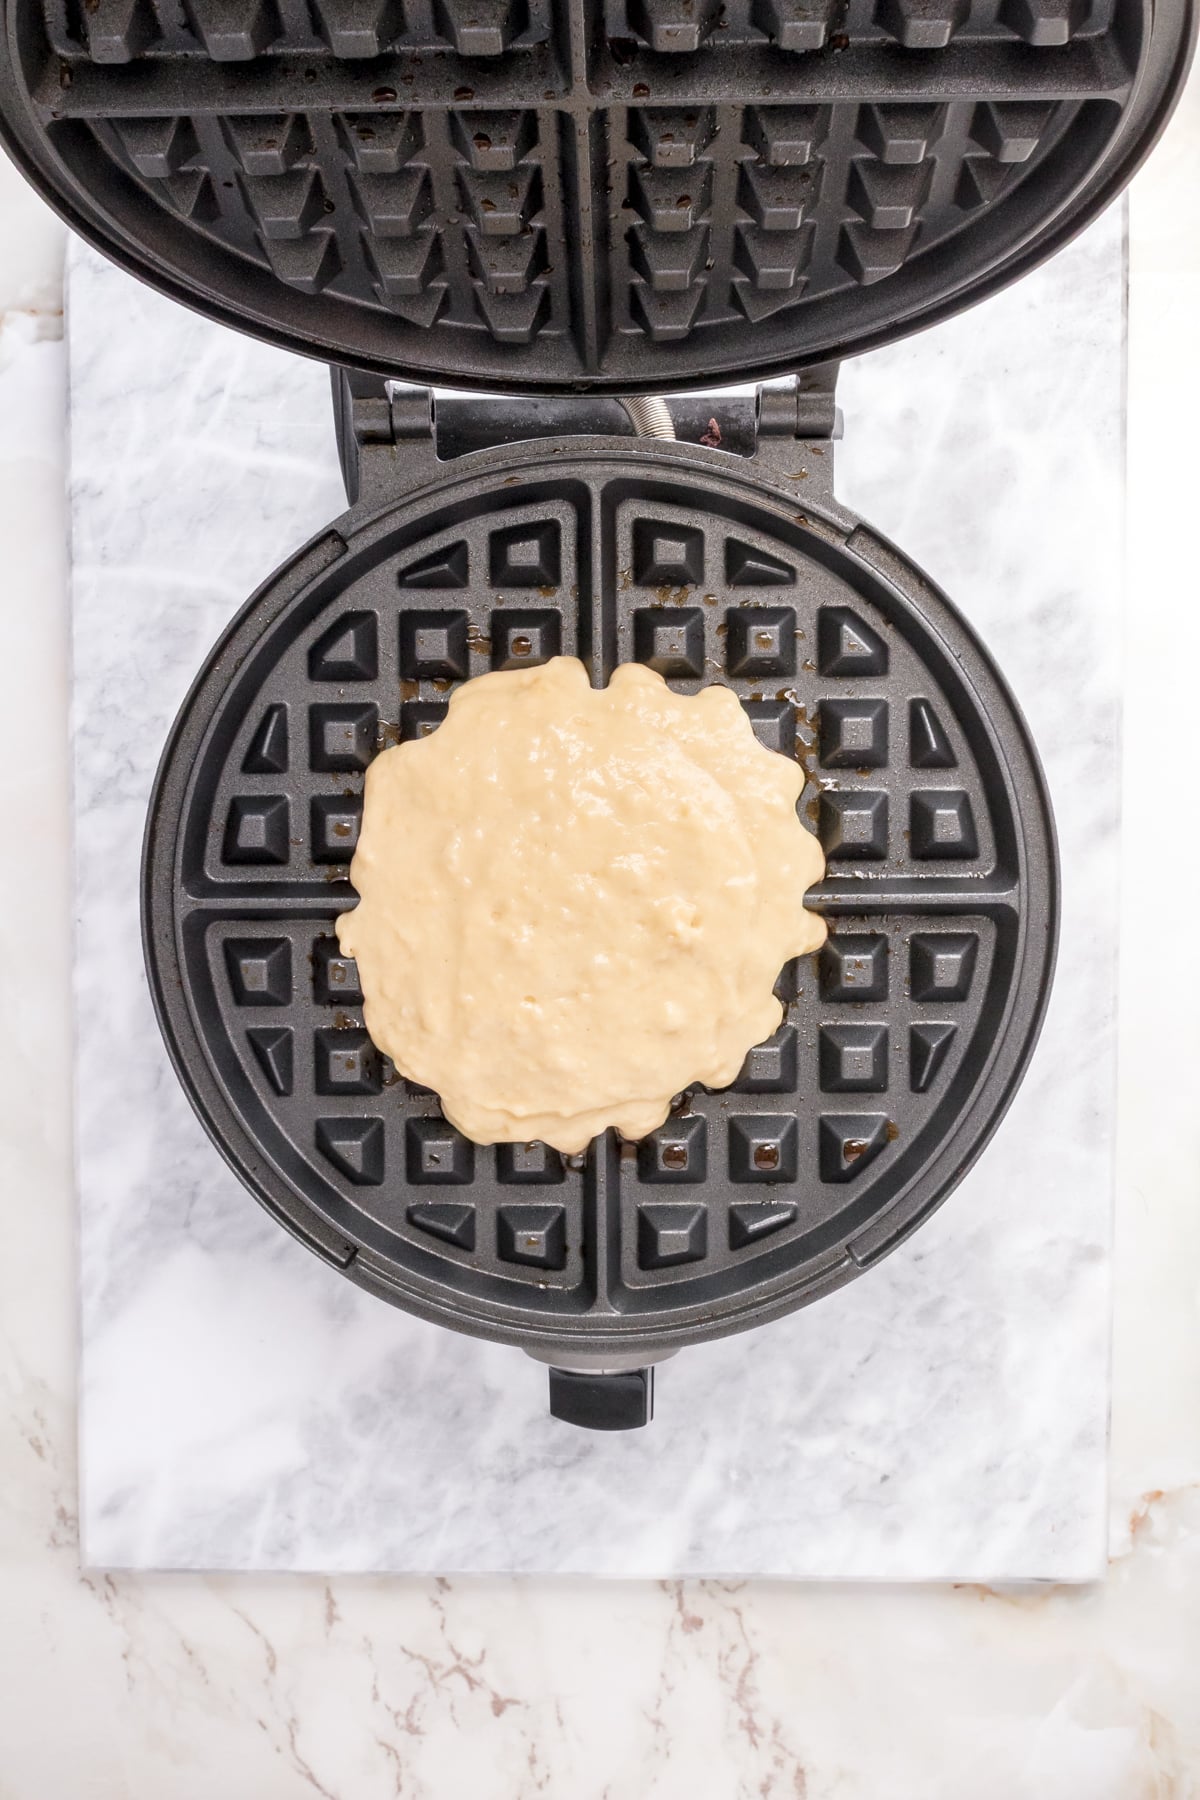
- Cook the waffles. Pour about ½ cup of batter onto the hot waffle iron and cook until golden brown and crisp.
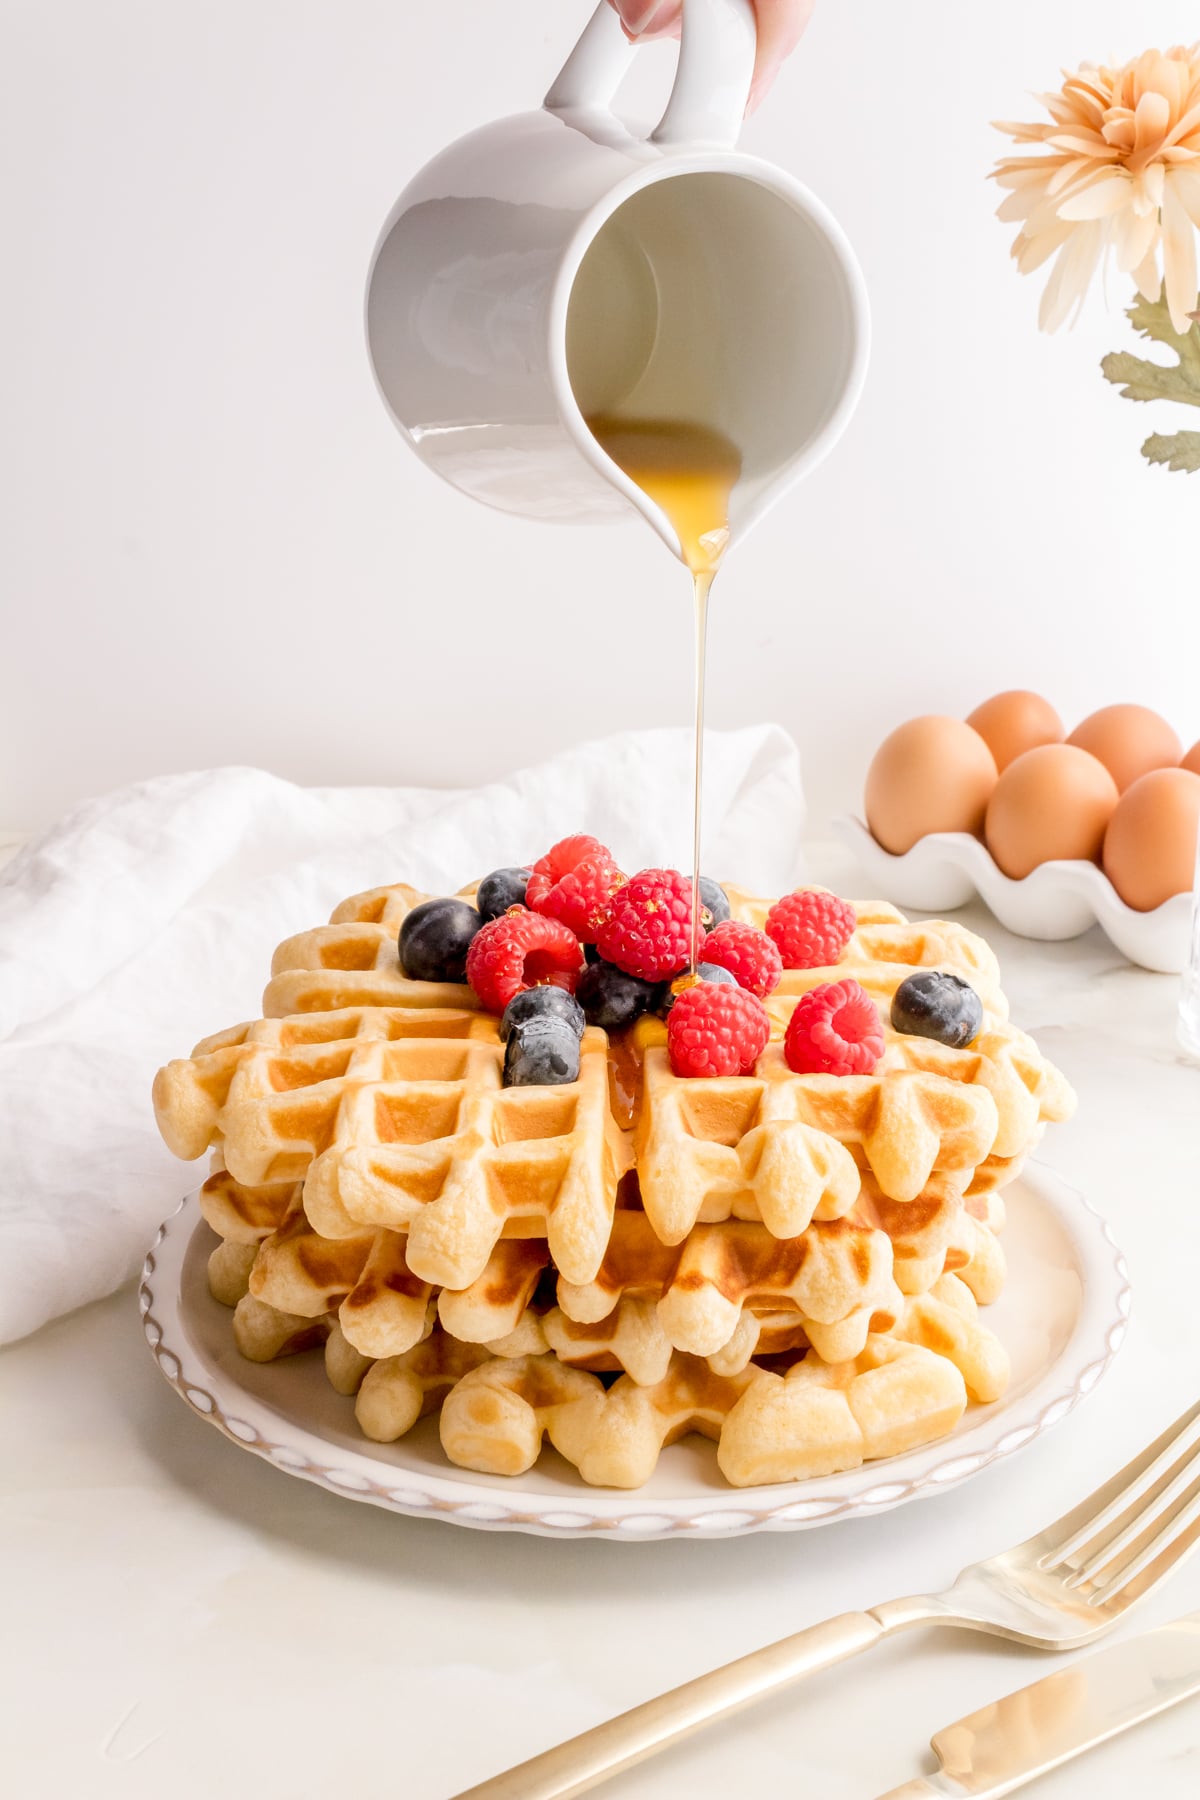
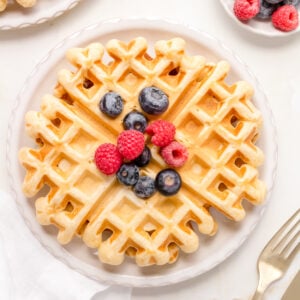
- Serve the waffles. Sprinkle with fresh berries and drizzle with warm maple syrup.
Quick Waffle Making Tips
Serve right away or keep them warm. I like to get everyone to the table and serve this waffle repine as soon as they come off the iron. This gives everyone some extra time together and the waffles are nice and fresh. If you want to wait until the waffles are all cooked to serve them, transfer waffles to a wire rack set on a sheet pan in a 200°F oven while you cook the rest. They'll stay warm and the edges will stay crispy.
Don't stack fresh waffles. Stacking the waffles traps steam and makes the whole waffle soft almost immediately. The wire rack lets air move around the waffles so they stay crisp.
Notes From My Test Kitchen
Waffles truly are pretty simple to make, and a few small changes are what made this a really good buttermilk waffle. Here's what I learned while testing this waffle recipe.
I started with ¼ cup of sugar and everyone wanted them sweeter. Bumping the sugar up to ⅓ cup made this waffle recipe sweet enough to eat on its own and even better with maple syrup. The extra sugar also helps get those edges golden and crispy.
The buttermilk took some extra figuring out too. I always start with 1 ¼ cups and then add more as the batter comes together - you will definitely need a little bit more, but adding it gradually is the trick. Once the batter is too thin, it's hard to go back. You're looking for something you can pour but still thick enough to hold its shape on a spoon.
The cornstarch was a round three addition. The first batches were good, but I wanted the waffles to be just a little bit lighter without having to whip egg whites. A single teaspoon added to the dry ingredients did exactly that.
Storage
Storing the Waffle Batter - Store batter in an airtight container in the refrigerator for up to 2 days. It may separate a little, so give it a quick stir before using. This is my preferred storage method - it lets you have fresh, crispy waffles on demand.
Storing Cooked Waffles - Leftover waffles can be kept in an airtight container in the refrigerator for up to 3 days. Refresh them in the oven or toaster oven at 300° for 4-5 minutes.
Frozen Waffles - Freeze waffles in a single layer separated by parchment paper. Transfer to a freezer bag or airtight container and store in the freezer for up to 2 months. To warm waffles up, place on the rack of your oven or toaster oven. Warm at 300° for 6-8 minutes.
Buttermilk Waffle FAQs
Three things make the biggest difference: a teaspoon of cornstarch adds fluffiness, a hot and well greased waffle iron makes crisp edges, and don't stack the waffles when they come off the iron. Stacked waffles steam into each other and soften them right up.
I'm not sure about you, but I often shy away from an extra step like whipping egg whites unless it's absolutely necessary. In this recipe, the teaspoon of cornstarch does the trick and makes this recipe so simple.
Absolutely! You can mix this batter up an hour or so ahead of time and store it in the refrigerator. If you are looking to make it the night before, mix the liquid ingredients and store them in the refrigerator. Mix the dry ingredients and store them covered at room temperature. In the morning, add the liquid ingredients to the dry ingredients and start making waffles!
Soggy waffles are usually one of three things: the waffle iron wasn't preheated, your batter was too thin, or the waffles were stacked instead of eaten immediately or placed on a wire rack. Make sure your waffle iron is hot, your batter is smooth enough to pour but holds its shape on a spoon and don't stack your waffles.
Buttermilk and Belgian waffles describe two different things - buttermilk refers to the ingredient and flavor, while Belgian is the style of the waffle iron used. So buttermilk is a flavor and Belgian is the deep-pocketed waffle iron that makes Belgian waffles. This recipe works well in any waffle iron.
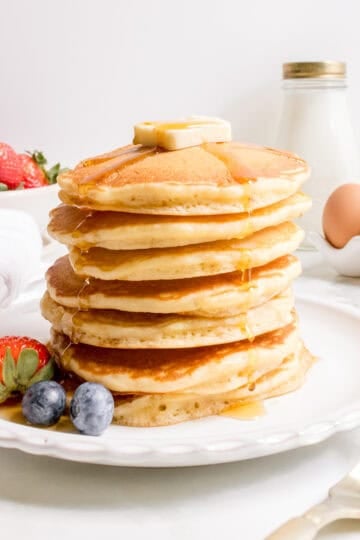
Not quite - waffle batter generally has more fat and more sugar for crispiness and caramelization. If you use waffle batter for pancakes you will get heavier, greasier results. If you're craving pancakes, head over to our homemade pancakes recipe or our small batch, pancakes for two!
Waffle Maker Care
How to Clean a Waffle Maker
A clean waffle iron is the secret to waffles that release easily and brown evenly every time! Here's the routine that I use to keep my waffle irons in great shape - and how to rescue it when the batter gets stuck.
The Routine
- Unplug and cool. Always unplug the waffle iron and let it cool before cleaning.
- Wipe the plates. Use a damp paper towel to wipe away crumbs and loose batter. Follow with a dry paper towel and dry up all of the moisture and oil.
- Clean the grooves. If needed, a soft bristled silicone brush or a bottle brush gets into the grooves without scratching the nonstick surface.
- Wipe the exterior. A damp cloth with a drop of dish soap handles the outside. Dry it fully before putting it away.
Stuck-On Batter? Try This
When I was a kid, I tried making waffles one morning and completely overfilled the waffle iron. Batter poured out of the sides and the whole waffle iron was pretty much covered with batter. If this has ever happened to you, here's what to do.
While the iron is still warm, place a damp paper towel over the stuck areas and close the lid or leave the damp paper towel on the iron for 5 to 10 minutes. The warmth from the iron combined with the damp paper towels softens the stuck-on batter so that you can easily wipe it away.
For stubborn spots, a little vegetable oil on a paper towel will help release these spots.
A Tip for Keeping Your Waffle Iron in Good Shape
Re-grease between batches. Even on a nonstick iron, a quick spray of cooking spray before each batch keeps the batter from sticking and helps the edges crisp up.
If you tried this waffle recipe or any other recipe on my blog, please leave a 🌟 star rating and let me know how it went in the 📝 comments below. Thanks for visiting!
Other Recipes Made With Buttermilk


📖 Recipe
Want to Save This Recipe?
Enter your email & I'll send it to your inbox. Plus, get great new recipes from me every week!
By submitting this form, you consent to receive emails from Maple and Thyme.
Buttermilk Waffles
Equipment
- 2 cup glass measuring cup
- large mixing bowl
- measuring cups
- measuring spoons
- whisk
- spatula
- waffle iron
Ingredients
- 2 cups (260g) all purpose
- ⅓ cup (67g) sugar
- 1 tablespoon baking powder
- 1 teaspoon cornstarch
- 1 teaspoon sea salt
- 2 large eggs
- 1 ¼ cups buttermilk add up to ¼ cup more milk to smooth out your batter
- ¼ cup canola oil
- 1 tablespoon vanilla
Instructions
- Whisk together the flour, sugar, baking powder, cornstarch and salt in your mixing bowl.2 cups (260g) all purpose , ⅓ cup (67g) sugar, 1 tablespoon baking powder, 1 teaspoon sea salt, 1 teaspoon cornstarch
- In a large measuring cup, combine eggs, buttermilk canola oil and vanilla extract. Whisk the liquid ingredients until well combined.1 ¼ cups buttermilk, ¼ cup canola oil, 2 large eggs, 1 tablespoon vanilla
- Add the liquid ingredients with the dry ingredients and mix until just combined. The batter may be slightly lumpy which is good.
- If the batter feels too thick, add a splash of milk and mix again. You want the batter to be smooth enough to pour or drizzle into your waffle iron but thick enough to hold its shape on a spoon.
- Preheat your waffle iron and spray the iron with a little bit of canola oil or nonstick cooking spray.
- Once the waffle iron is warm, use a measuring cup or ladle to pour ½ cup of batter onto the hot waffle iron.
- Cook waffles, following the directions on your waffle maker. Mine has a little orange light that turns off when the waffle is ready.
- Serve waffles with fresh fruit and warm maple syrup.

Kathy Schlachter says
Excellent recipe! Fluffy, light, and quick. I used powdered buttermilk (reconstituted per package directions) and the results were perfect. My new go-to recipe.
Amanda Smallwood says
Love this Kathy! I'm so happy to hear that the waffles came out yummy and love that you were able to use the powdered buttermilk as a substitute! Thanks so much for your feedback. xo Amanda
Amanda Smallwood says
The kids loved these waffles (with plenty of warm maple syrup), and the leftover batter held up beautifully overnight. Fresh, crispy waffles two mornings in a row - pretty hard to beat.